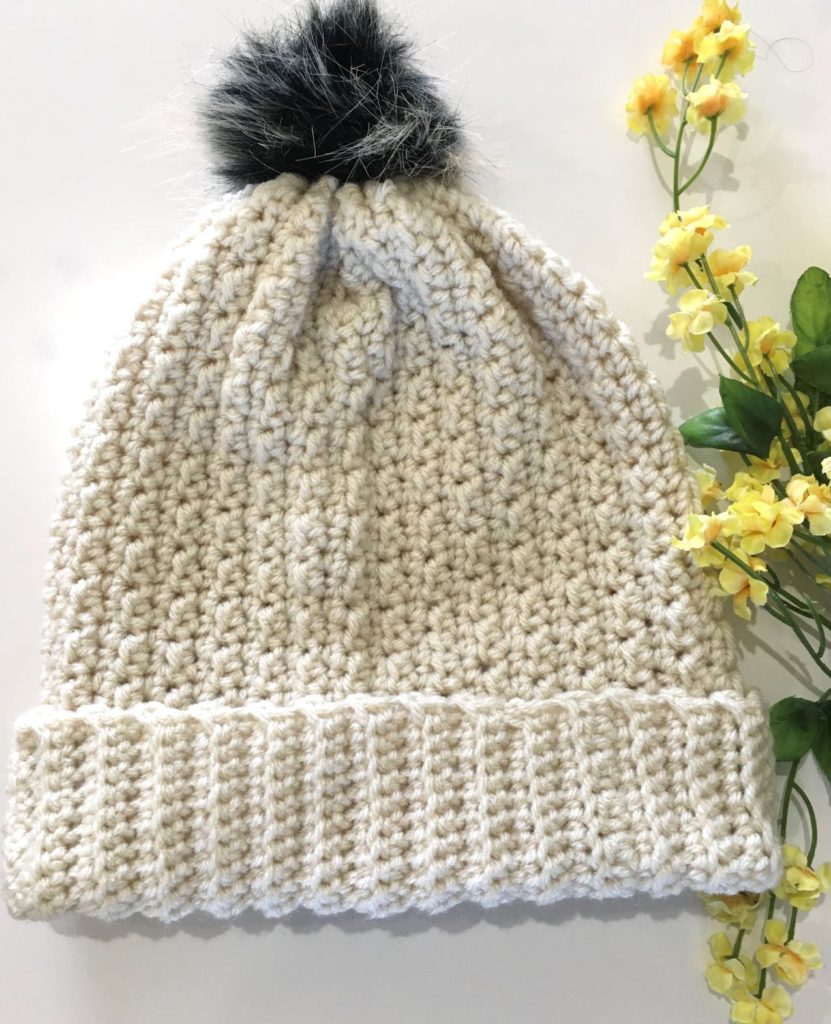
Creamy Pearl Crochet Beanie Pattern

Creamy Pearl Crochet Beanie

Beautiful beanie in mushroom or pearl color is good for any occasion and looks good on any outfits. If you are rushing to work in the morning and have no time to color coordinate your outfits then this is an easy grab and go beanie that will match on any outfit perfectly and will keep you warm during those cold winter mornings.

This beanie is very easy to make and also has a nice texture. I used Craft Smart Yarn in mushroom color from Michaels but you can use any color yarn you like. Crafty Smart value economical yarn is good yarn for its price. You get more yardage for a reasonable price compared to other yarns. 

I used a smaller crochet hook than recommended to give a delicate look to this beanie. 

Finished Size:  18’ inches circumference x 11 ½’ inches total height. 

                            11’ inches height = 3’ inches border + 8’ inches of pattern height

Material:

Yarn: Craft Smart Value Yarn

Color: Mashroom

Hook: G/6, 4.25 MM

Scissor

Level: Easy (assuming you are familiar with basic crochet stitches) 

Basic Stitches and Abbreviations (US Terms):

sl st – slip stitch

ch  – chain

dc – double crochet

sc – single crochet

Pattern Notes

There is no special stitch, just alternate sc and hdc gives this beanie a nice textured look.

Pattern is repeat of sc and hdc in separate chains.

I am using a smaller hook to get the delicate look for this beanie.

Pattern

Row 1: 1 sc in first 12 chains ( border), 1 sc in the next chain, 1 hdc in the next chain, repeat 1 sc and 1 hdc till end (pattern).

Row 2: ch 1, 1 sc in the next chain, 1 hdc  in the next chain repeat till last 12 chains are left. 1 sc in the last 12 chains for the border

Row 3-60: Repeat row 1 and 2 

Do not cut the yarn. You can use the same yarn to join the two long sides of the rectangle with sl stitch. Fold the rectangle and sew the longer sides with sl st.

Gather the top using a running stitch at the edge of the rectangle.  Pull one end of the yarn to bring the edge together. Tie the yarn tightly and weave the end.

Finish the beanie by sewing a big pom pom at the top to give it a gorgeous look.

Pom Pom:

You can make a white or red pom pom using the same yarn you used for the beanie.

There are various ways of making pom pom, but I like to use the pompom maker I got from Michaels. It’s easy to use and you don’t waste any yarn while cutting the edges to make it even.

You can also use a faux fur pom pom if you like.  

Fasten off and weave in all ends. Hope you enjoy making this beanie. 

Fasten off and weave in all ends. Hope you enjoy making this cute  bucket beanie.
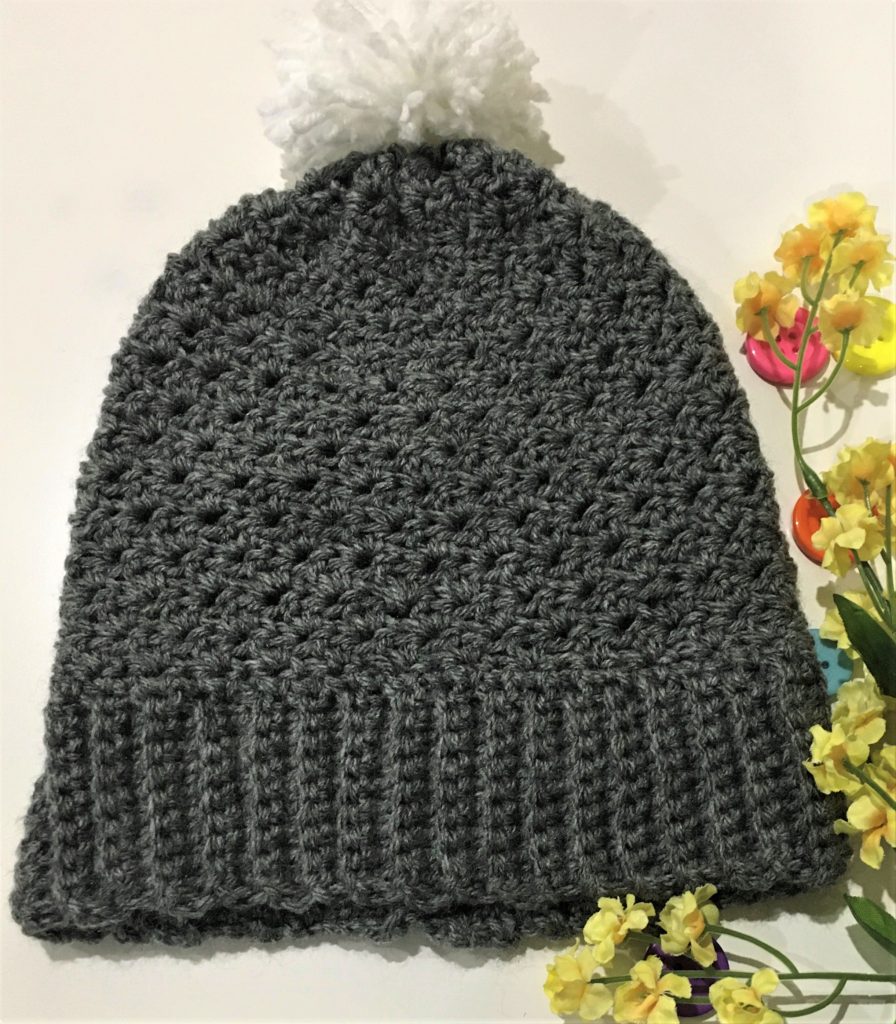
Gray Texture Crochet Beanie

Gray Texture Crochet Beanie

You are at the right place if you are looking for an adult size beanie in neutral color. This is a perfect pattern in gray for adult men or women to wear anywhere during those cold winter days. 

Ribbed border and combination of single and double crochet makes this beanie beautiful.

Finished Size:  

Material:

Yarn: 

Color: G/6, 4.25 MM

Hook: 

Scissor

Level: Easy (assuming you are familiar with basic crochet stitches) 

Basic Stitches and Abbreviations (US Terms):

sl st – slip stitch

ch  – chain

dc – double crochet

sc – single crochet

Pattern Notes

Make the border first and then start the beanie from bottom up.

You will need to decrease the stitch as you go upward.

Pattern

Border or Ribbed band

Ch 10 +1 

Row 1: sc in 2nd ch from the hook  and sc till end.

Row 2: ch 1, sc in the back loop only till end.

Row 3-60 : Repeat row 2

Band length should be around 18’’ inches for an adult size beanie. Bring together the 1 row and 60th row and join the two edges with sl st. 

Do not cut the yarn as you can continue the main beanie pattern in rounds using the same yarn

Beanie:

Row 1: ch 1, sc around the top of the band making sc in between each row. So a total of 60 sc.

Row 2: ch 1, *1 sc & 1 dc in the same ch, sk 1 ch, 1sc & 1dc in the same ch* Repeat around the circle and join

Row 3 – 14: Repeat row 2

Row 15 :  Start decrease, ch 1, work 2 sc and 2 hdc together.

Row 16:  Continue decrease, ch 1, work 2sc and 2hdc together.

Cut the yarn leaving a long tail of yarn appx 12’ inches. 

Gather the top using a running stitch at the edge of the circle.  Pull one end of the yarn to bring the edge together. Tie the yarn tightly and weave the end.

Finish the beanie by sewing a big pom pom at the top to give it a gorgeous look.

You can attach a removable Faux fur pom pom if you want. Sew a button inside the beanie and then just attach the pom pom to the button. 

Pom Pom:

You can make a white or red pom pom using the same yarn you used for the beanie.

There are various ways of making pom pom, but I like to use the pompom maker I got from Michaels. It’s easy to use and you don’t waste any yarn while cutting the edges to make it even.

You can also use a faux fur pom pom if you like.  

Fasten off and weave in all ends. Hope you enjoy making this beanie.

Solid Green Crochet Beanie Pattern

Solid Green Crochet Beanie

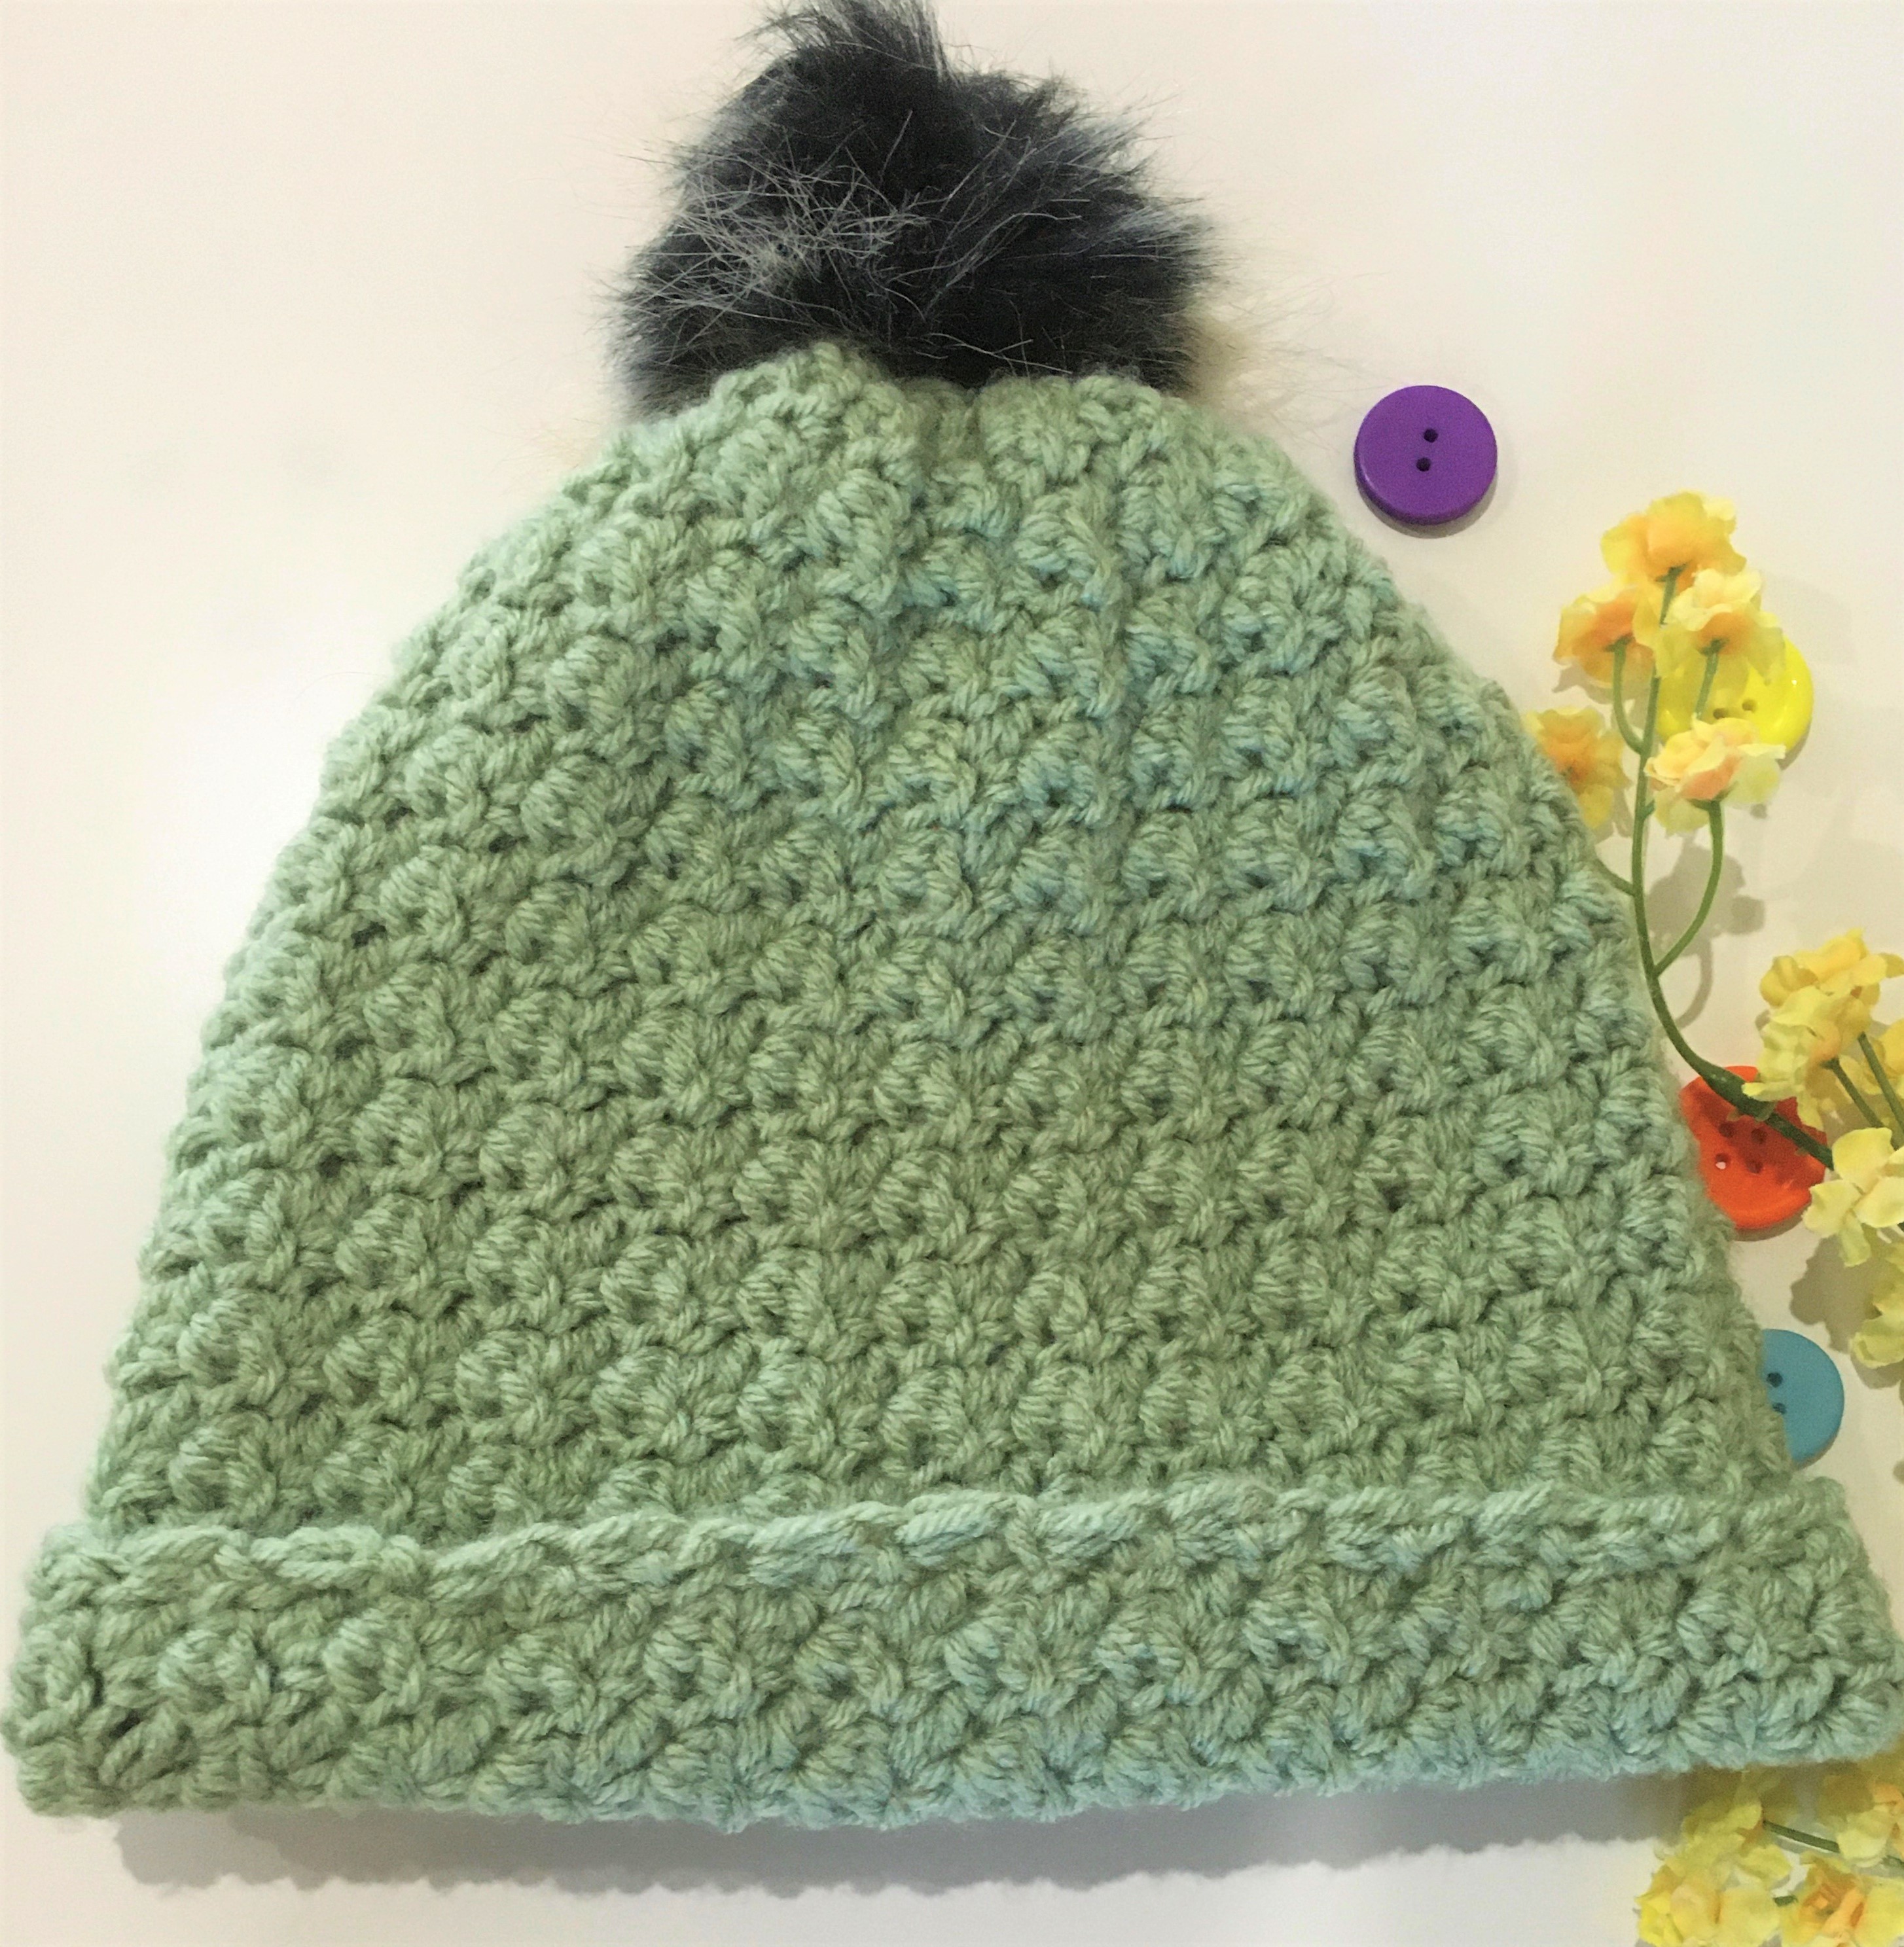
You are at the right place if you are looking for some adult textured beanie. This pattern is pretty for kids and adult beanies but not so much for baby beanies.

 I liked the solid color as it prominently shows the pattern. You can use any light colour for this pattern.  I am using Crafts Smart Value yarn in color sage from Michaels. This is very economical yarn as you get more yardage for a fairly reasonable price compared to other yarns. Also don’t forget to use coupons and rewards at Michales while buying this yarn.

This is a simple pattern of half double crochet and single crochet in the same chain. 

This is a no sew pattern as you join the sides with slip stitch and close one end with running stitch. 

Finished Size:  20’ inches circumference x 10’ inches height

Material:

Yarn: Crafts smart Value Yarn

Color: Sage

Hook: k 10 ½, 6.50 MM

Scissor

Level: Intermediate (assuming you are familiar with basic crochet stitches) 

Basic Stitches and Abbreviations (US Terms):

sl st – slip stitch

ch  – chain

dc – double crochet

sc – single crochet

hdc –  half double crochet

Pattern Notes

There are no special stitches in this pattern. Just half double crochet and single crochet in the same chain

The number of chains is the height of this beanie and number of rows is the circumference of this beanie.

Pattern

Chain 33

Row 1: 1 sc and 1 hdc in the 2nd ch from the hook, sk 1 ch, 1 sc and 1 hdc in the next ch. Repeat across the entire ch.

Row 2: ch 1 , turn, 1 sc and 1 hdc in the same chain, sk 1 ch, 1 sc and 1 hdc in the next ch.

Row 3- 50: Repeat row 2.

Do not cut the yarn. You can use the same yarn to join the two long sides of the rectangle with sl stitch. Fold the rectangle and sew the longer sides with sl st.

Gather the top using a running stitch at the edge of the rectangle.  Pull one end of the yarn to bring the edge together. Tie the yarn tightly and weave the end.

Finish the beanie by sewing a big pom pom at the top to give it a gorgeous look.

Pom Pom:

You can make a white or red pom pom using the same yarn you used for the beanie.

There are various ways of making pom pom, but I like to use the pompom maker I got from Michaels. It’s easy to use and you don’t waste any yarn while cutting the edges to make it even.

You can also use a faux fur pom pom if you like.  

Fasten off and weave in all ends. Hope you enjoy making this beanie.

Grey and White Crochet Beanie

Gray and White Crochet Beanie

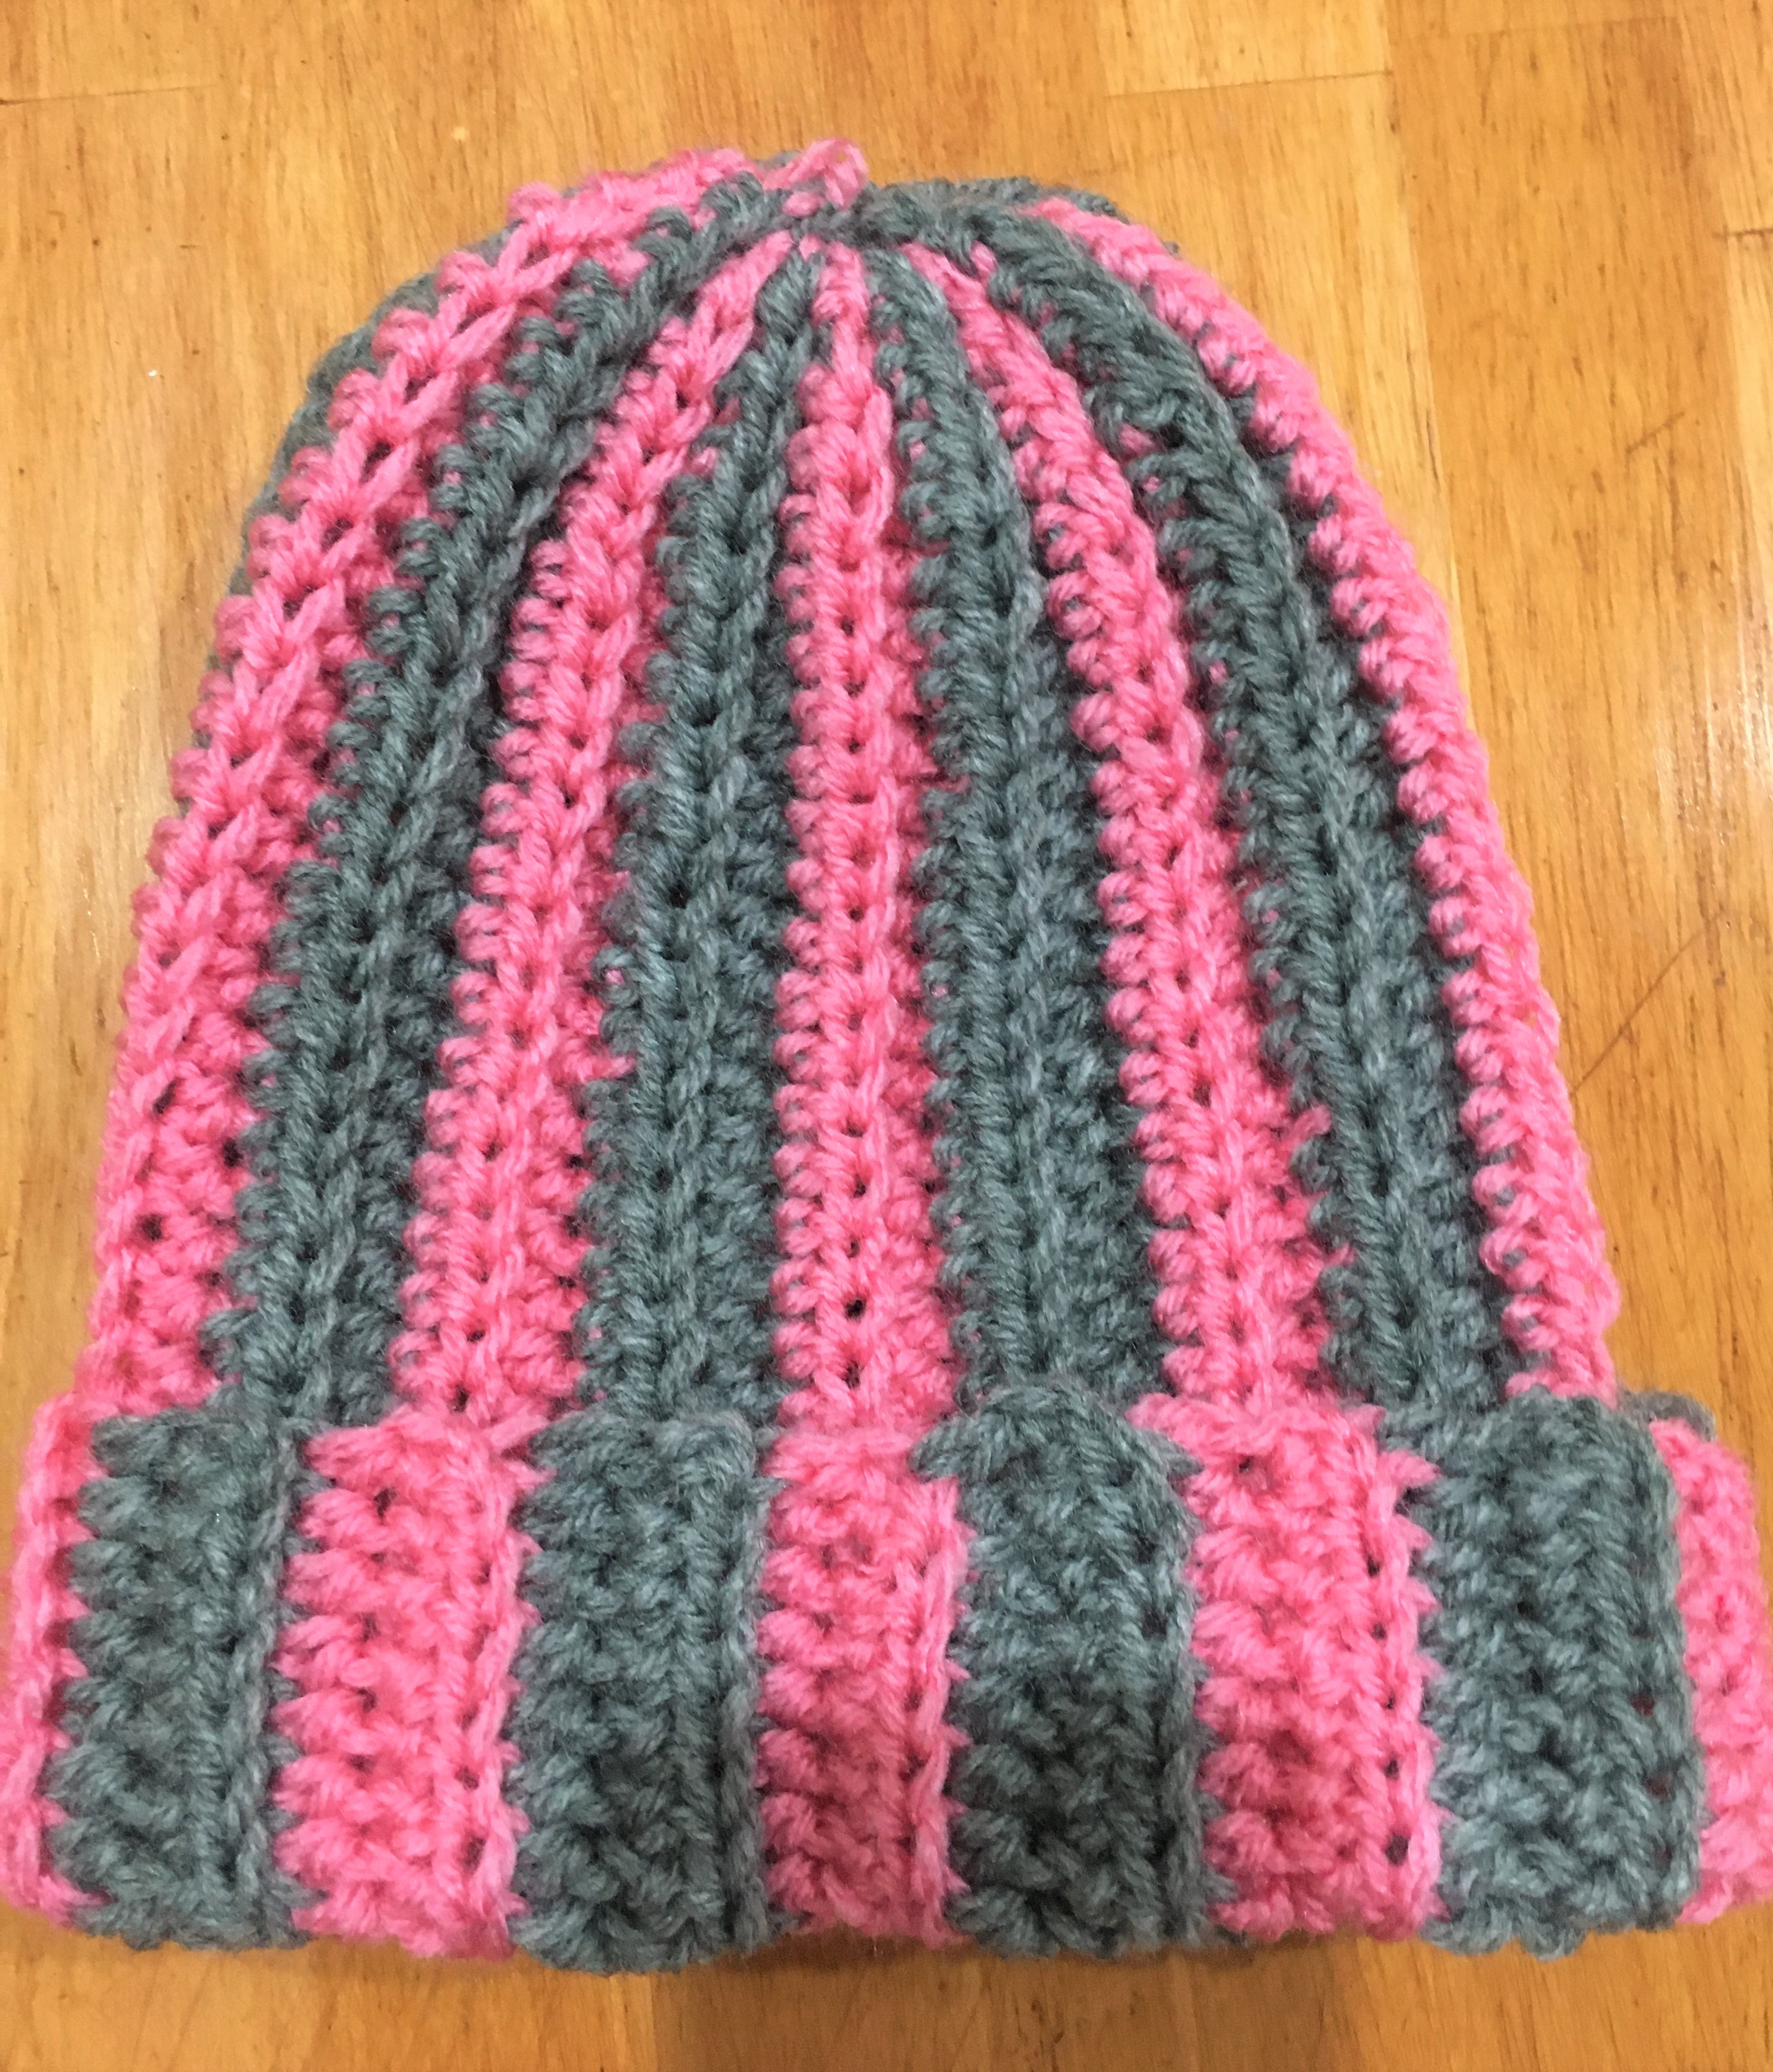
ou can adjust the size of this beanie according to your requirement. Also you can make this beanie in any color combination you like. 

Finished Size9’’ long and 18’ circumference

Material:

Level: Easy (assuming you are familiar with basic crochet stitches) 

Basic Stitches and Abbreviations US Terms:

  • sl st – slip stitch
  • ch  – chain
  • dc – double crochet
  • sc – single crochet

Pattern Notes

  • This beanie is made from bottom to top. Number chains will be the circumference of this beanie, so measure the widest part of your head and make the chain of the same length. 
  • Number of rows will be the height of this beanie.
  • This beanie is worked up as a rectangle shape. Once finished, fold the rectangle and sew the open long side. 
  • Gather one side of the rectangular tube and close it to make the top.

Pattern

It’s a very simple pattern of 1 row repeat. 

Double crochet in the back loop of the previous row.

Ch 60

Row 1: dc in 4th chain from the beginning. Dc in each chain. (3 chains at the end counts as 1 dc) total 57 dc. at the end of row 1

Row 2: ch3, turn, dc in back loop only in all the chains. 

Row 3 -11 : repeat row 2. Total 11 rows of gray color

Row 11-17: repeat row 2 with white color 

I made a total of 17 rows to get my desired height of 9 inches.

Do not cut the yarn. You can use the same yarn to sew the sides. Fold the rectangle and sew the longest open side using sl st.

Gather the top at the white end and sew using a running stitch at the edge of the rectangle.  Pull one end of the yarn to bring the edge together. Tie the yarn tightly and weave the end.

Finish the beanie by sewing a big pom pom at the top to give it a gorgeous look.

Pom Pom:

You can make a white or gray pom pom using the same yarn you used for the beanie.

There are various ways of making pom pom, but I like to use the pompom maker I got from Michaels. It’s easy to use and you don’t waste any yarn while cutting the edges to make it even.

You can also use a faux fur pom pom if you like.

Striped Crochet Beanie Pattern

Little Pink and White Beanie

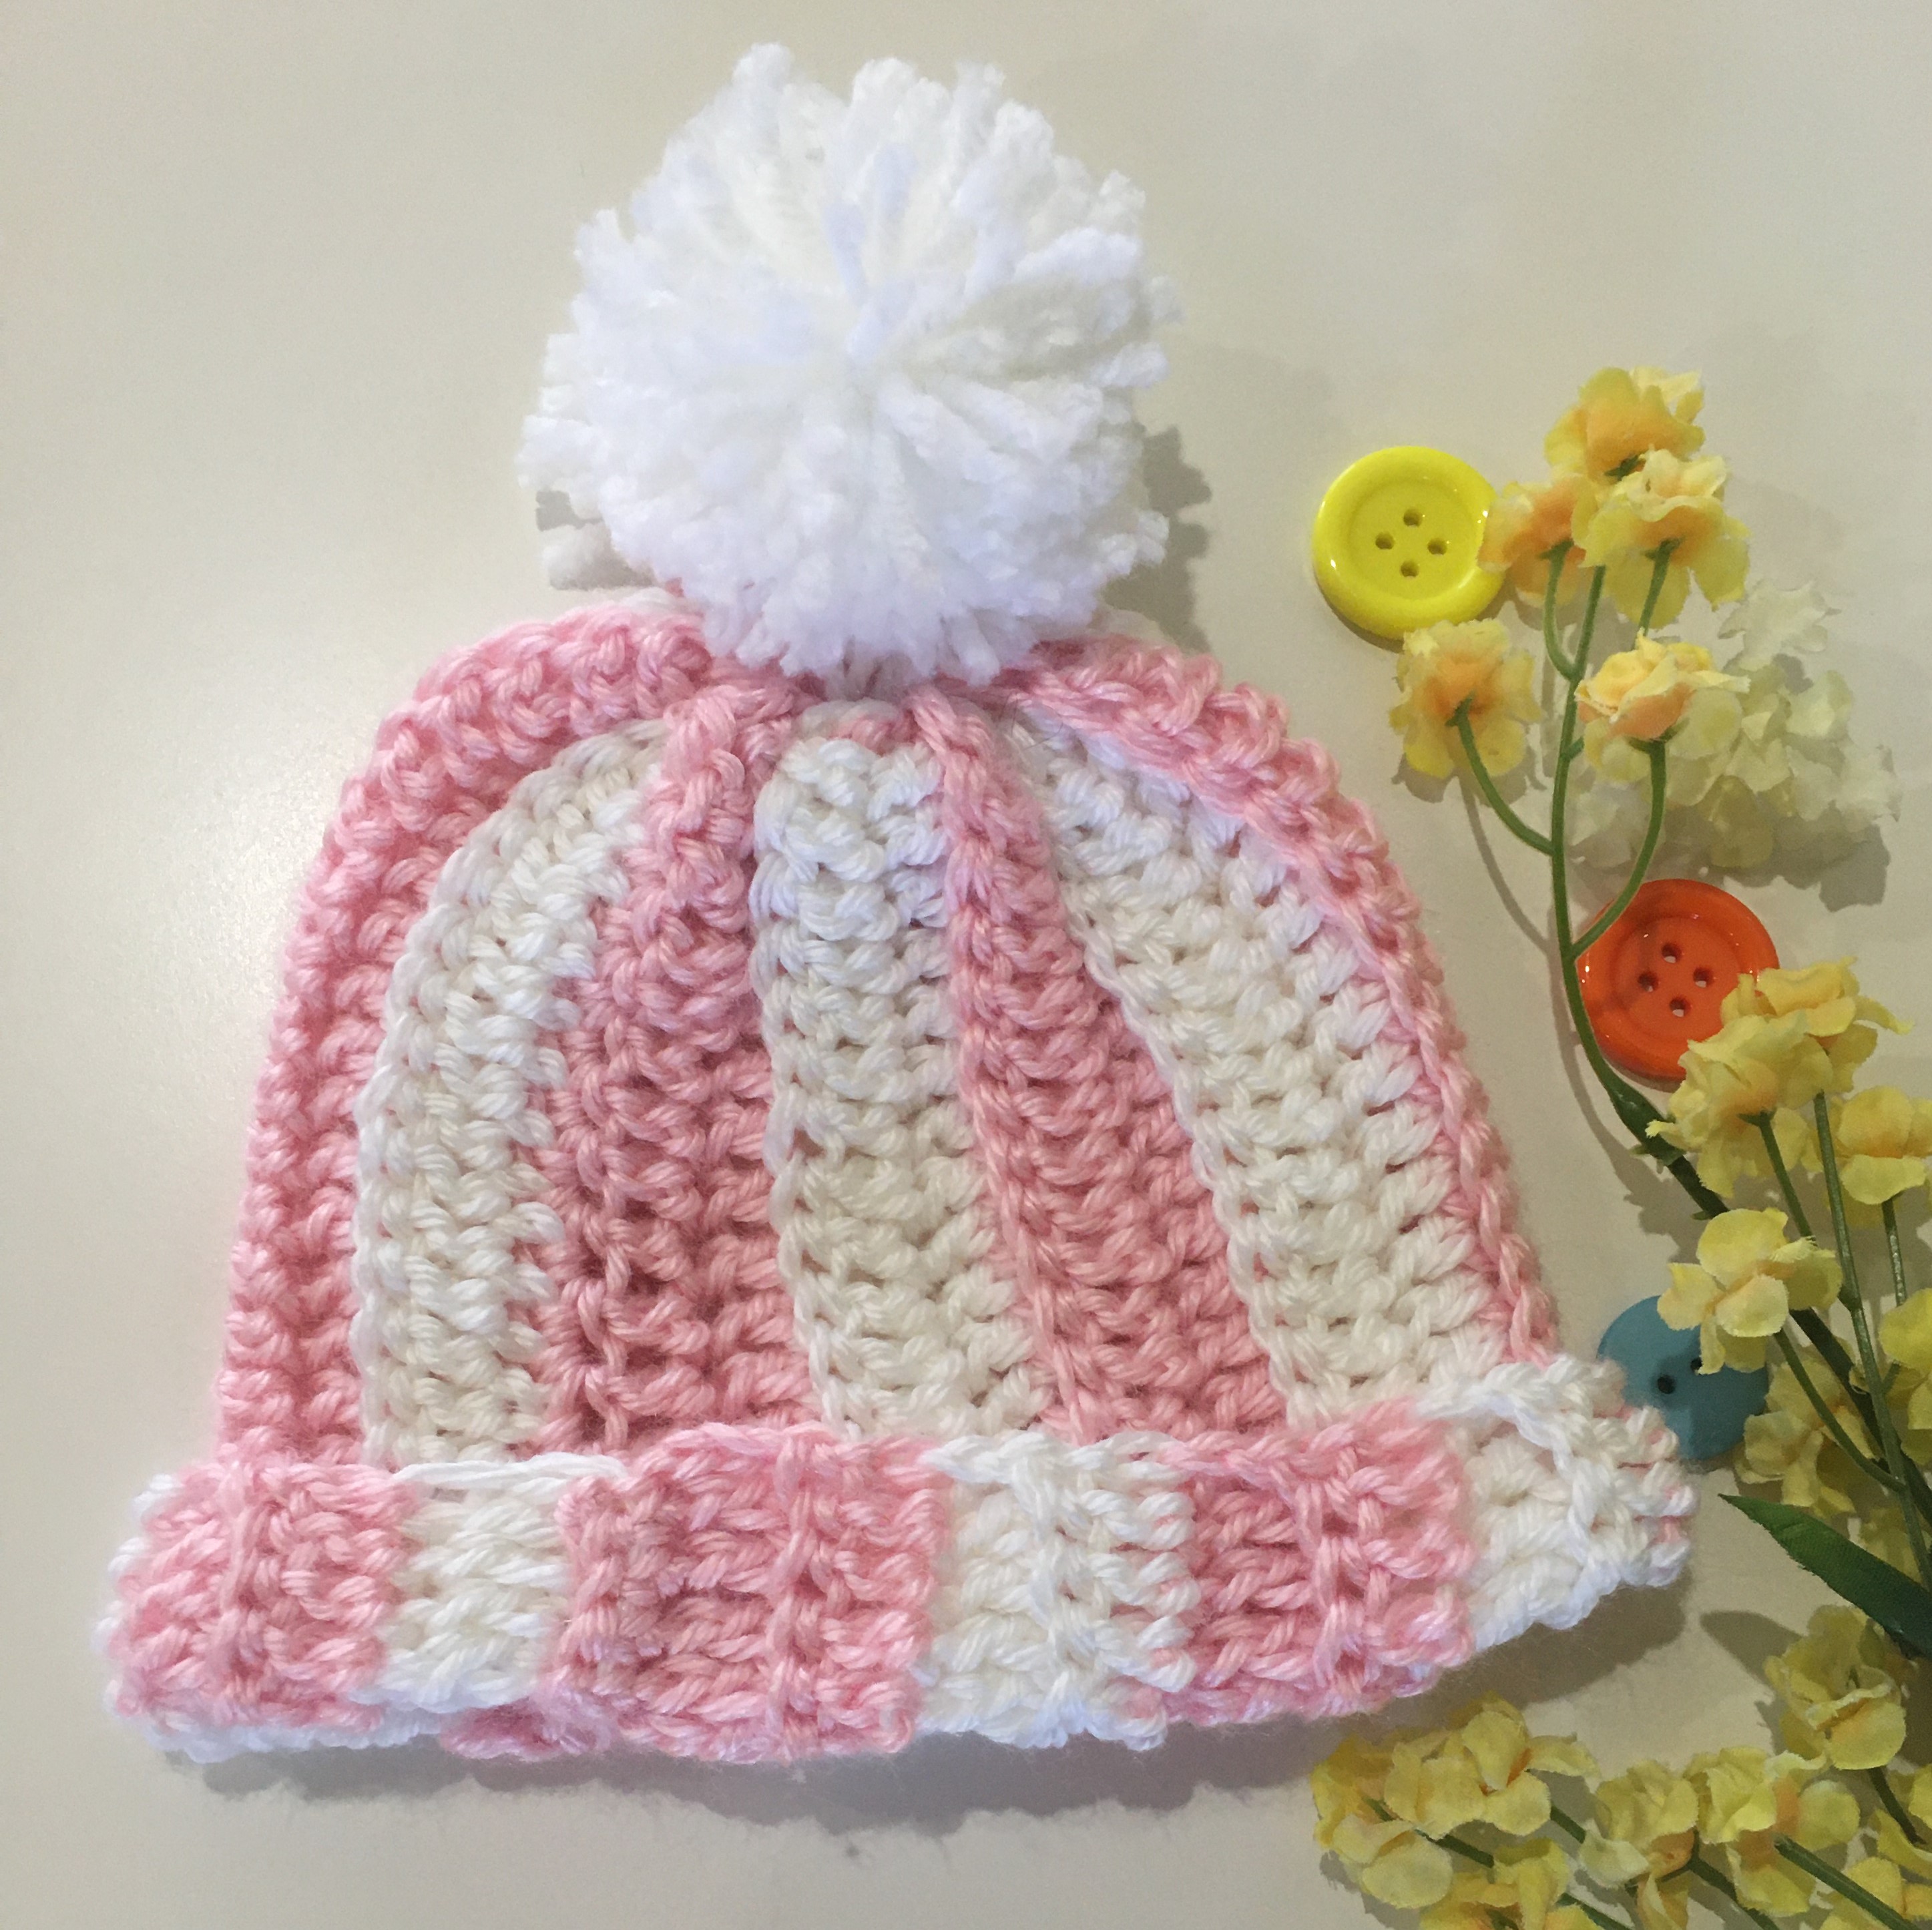
Colorful beanie with simple stitches makes this an easy project for beginners and also gives something challenging to change color and learn the next steps in crochet.

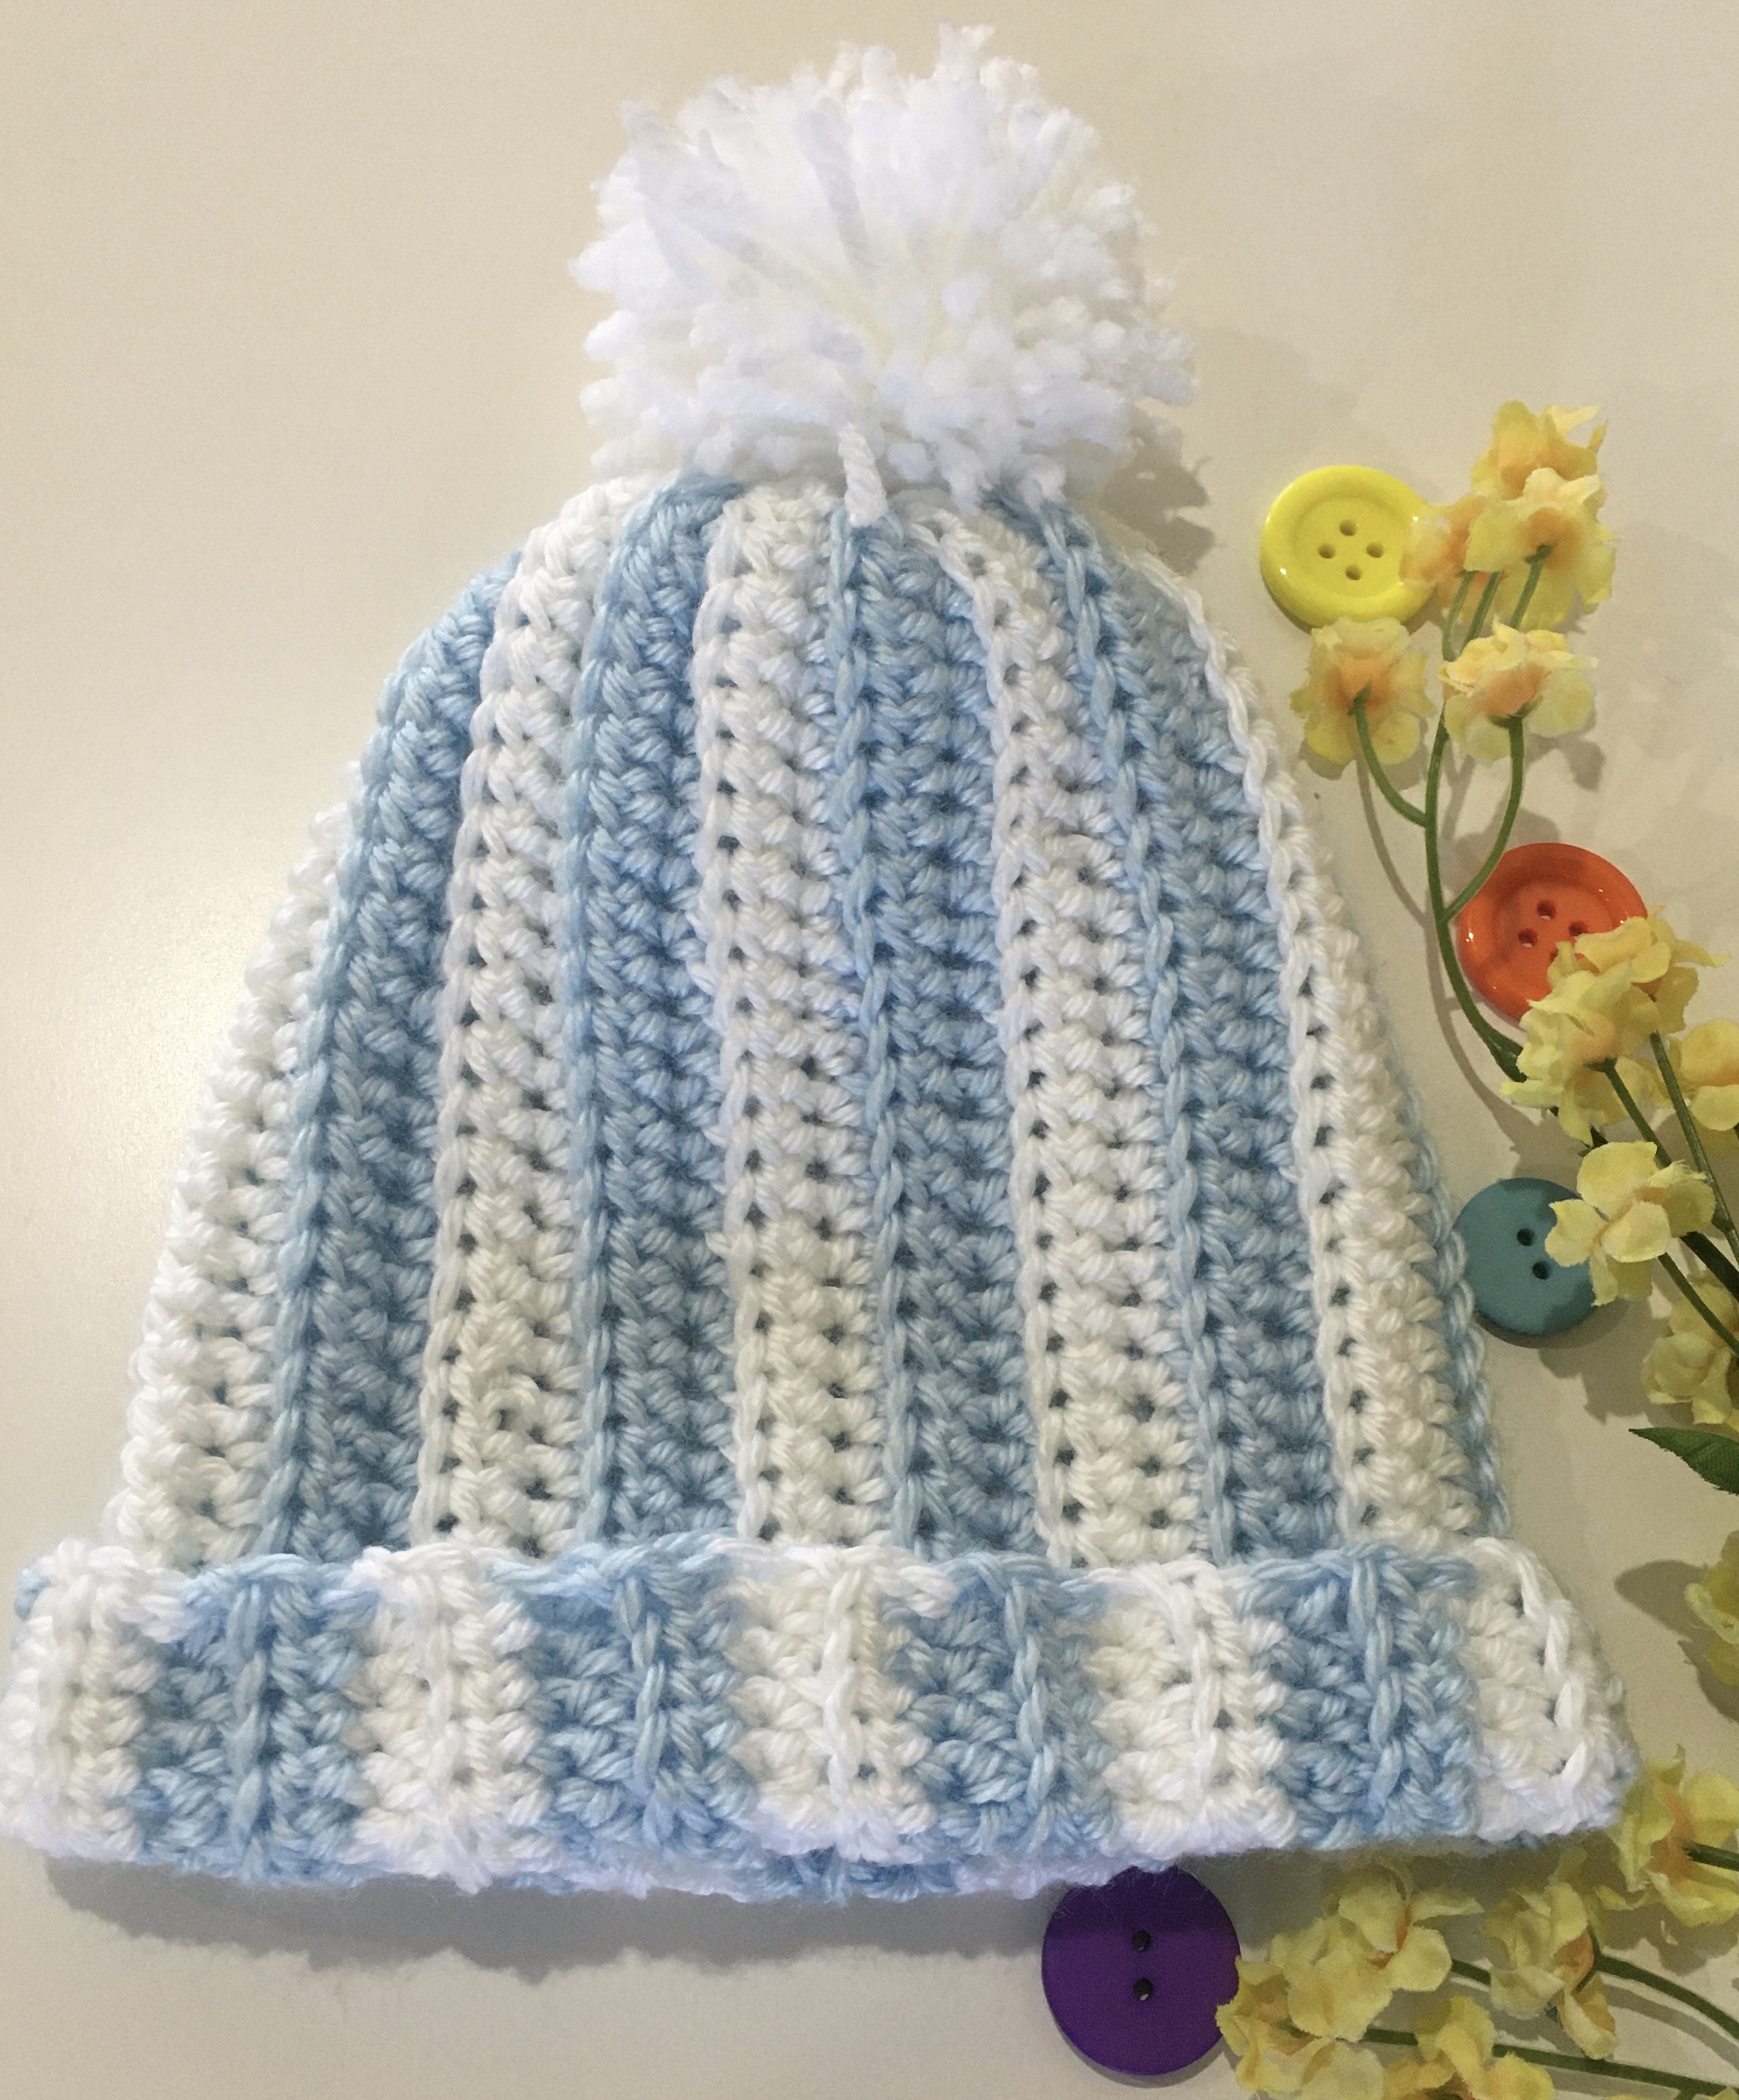
This pattern is for pink and white baby beanie, and I have provided some sample pictures using different color combinations, if you want to use different colors to this beanie.

Just increase the number of chains to increase the height and increase the number of rows to increase the circumference. 

Finished Size:  11’ inches circumference x 6’ inches heights

Material:

Yarn: Caron Simply Soft

Color:  White and Soft Pink

Hook: G/6, 4.25mm

Scissor

Level: Easy (assuming you are familiar with basic crochet stitches) 

Basic Stitches and Abbreviations (US Terms):

sl st – slip stitch

ch  – chain

dc – double crochet

sc – single crochet

dcbl – double crochet in back loop only

Pattern Notes

Number chains will be the height of the beanie. Measure your size from forehead to center of your head. You can increase the number of chains to get a slouchy look and also fold the beanie as needed.

Number rows will be the circumference of the beanie. So you can measure the circumference of the head 

You can  refer the size chart from acraftyconcept 

Special stitch: double crochet in back loop only.

Colorful beanie with simple stitches makes this an easy project for beginners and also gives something challenging to change color and learn the next steps in crochet.

Pattern

Chain 28

Row 1:  1 dc in the 4th ch from the hook. Make dc in each chain till end (total 35 dc), turn

Row 2:  ch3, dc in the back loop of the previous row till end. Change color while ending the last dc.

Row 3 -24 : ch 3 and rRepeat row 2. 

I made a total of 24 rows to get the circumference of 11’ inches.

Do not cut the yarn. You can use the same yarn to join the two sides of the rectangle with sl stitch. Fold the rectangle and sew the open sides with sl st.

Gather the top using a running stitch at the edge of the rectangle.  Pull one end of the yarn to bring the edge together. Tie the yarn tightly and weave the end.

Finish the beanie by sewing a big pom pom at the top to give it a gorgeous look.

Pom Pom:

You can make a white or red pom pom using the same yarn you used for the beanie.

There are various ways of making pom pom, but I like to use the pompom maker I got from Michaels. It’s easy to use and you don’t waste any yarn while cutting the edges to make it even.

You can also use a faux fur pom pom if you like.  

Fasten off and weave in all ends. Hope you enjoy making this cute ribbed colorful beanie.

Brown Textured Crochet Beanie Pattern

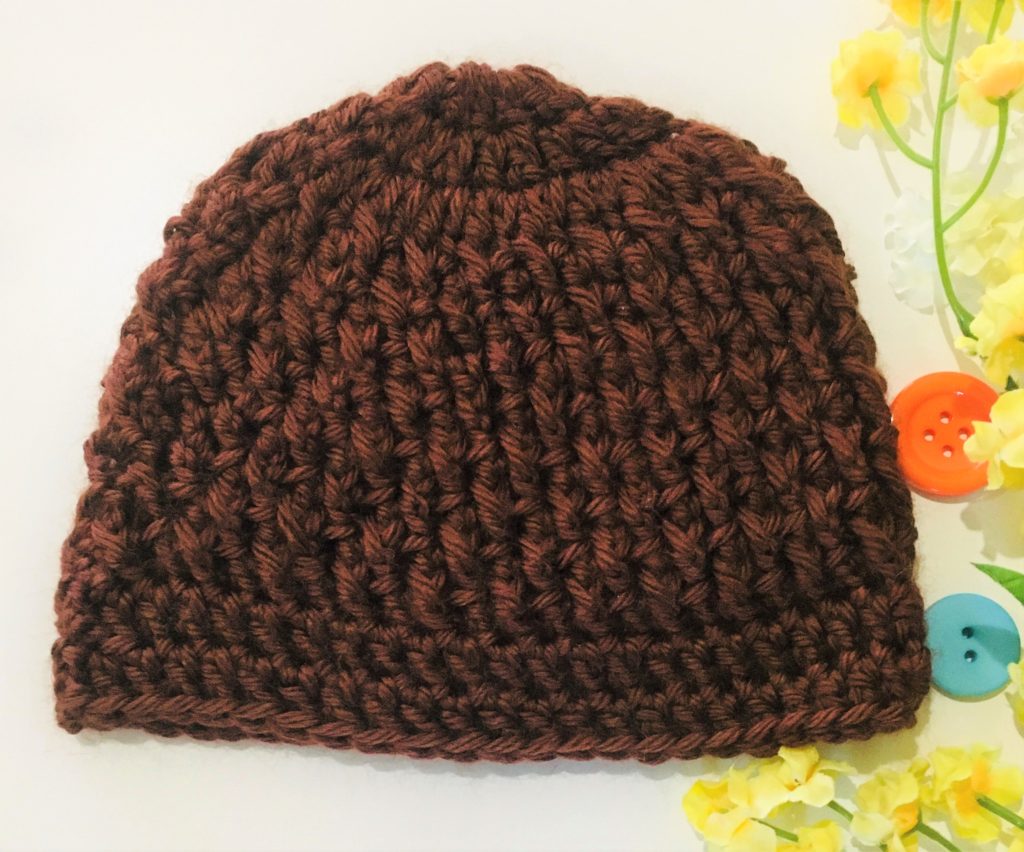
Little Brown Textured Beanie

This beanie pattern is similar to my blue textured beanie pattern except, this beanie uses front post double crochets in all rows whereas in blue textured beanie I just made a couple of rows of fpdc in between.

This beanie is not complicated to make but you just have to be familiar with front post double crochet stitch, so I will suggest practicing this stitch before making a beanie. Once you get the hang of it then it’s very easy to make this beanie.

Following instructions are for my beanie which is a small newborn beanie. You can increase the size of this beanie as needed.

Finished Size:  11’ inches circumference x 5’ inches height 

Material:

Yarn: Caron Simply Soft

Color: Chocolate

Hook: G/6  4.25 MM

Scissor

Level: Intermediate (assuming you are familiar with basic crochet stitches) 

Basic Stitches and Abbreviations (US Terms):

sl st – slip stitch

ch  – chain

dc – double crochet

sc – single crochet

fpdc-  front post double crochet

Pattern Notes

This beanie is worked from top to bottom.

You start with a magic ring and increase the stitches for the  first few rows to make a circle.

After you get the desired size of the back of your head, stop increasing and just continue so that you get the beanie shape.

Pattern

Make a magic ring.

Row 1: Make 12 dc in the magic ring

Row 2: Make 2 dc in each chain from the previous circle. Total 24 dc.

Note: You can increase by making 2 dc in the same chain for another one or two rows for bigger size.

Row 3: ch 3, Make front post dc in the next chain, then make 1 dc, then fpdc and then 1 dc. So  alternate fpdc and 1 dc on the previous circle. ( This is the textured row in between)

Row 4: Make fpdc in the dc from the previous row. Then make dc in the front post from the previous row. 

Row 5-10: Repeat row 4  by making alternate fpdc and dc. Make fpdc on the dc from the previous row and make dc on the fpdc from the previous row. 

Row 11: Make 1 dc in each chain from the previous row to make a small border at the end.

Reverse the beanie inside out, as we made front post double crochets inside while working on this beanie.

Fasten off and weave in all ends. Hope you enjoy making this cute little beanie.

Pretty Pink Crochet Beanie Pattern

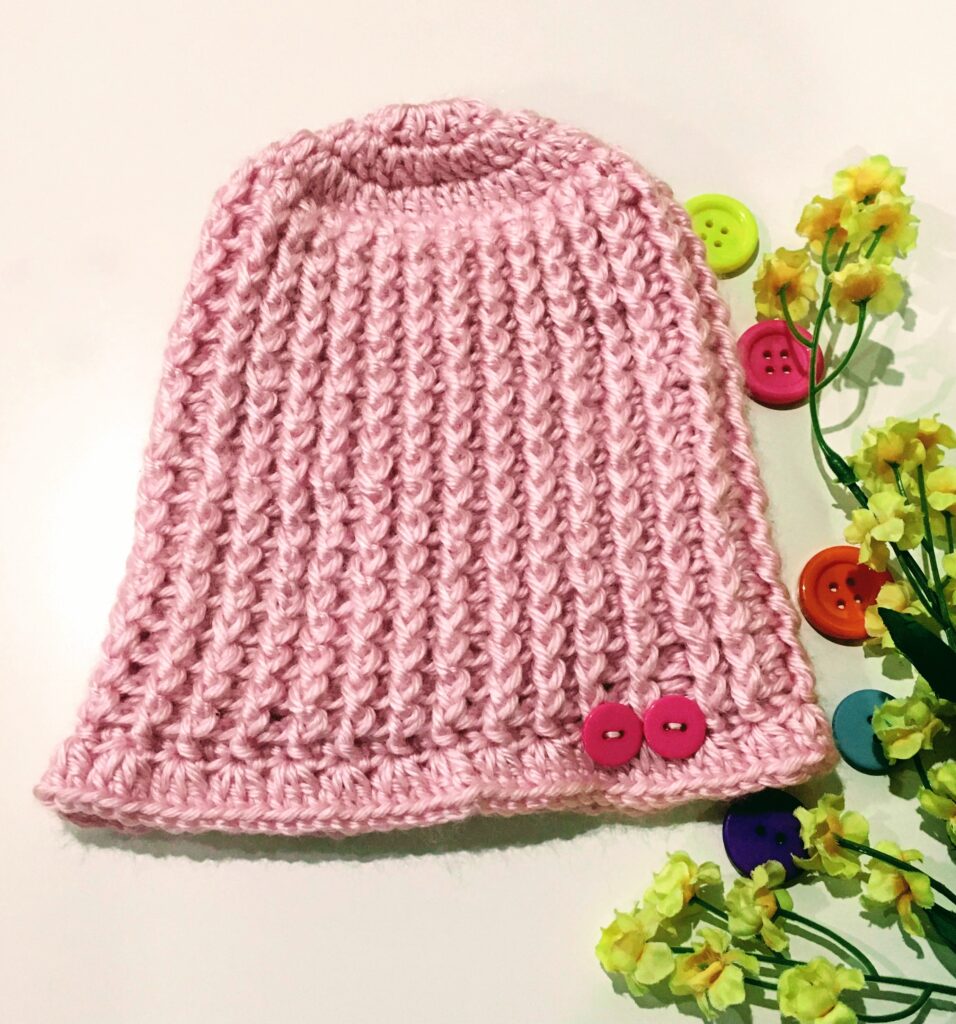
Pretty Pink Crochet Beanie

Isn’t this beanie gorgeous!!! One of my best creations. I love this beanie and I wish I knew how to make this beanie for my daughters when they were little. Now I know how to make it, I would like to share it with you all so that you can make it for your loved ones. 

This beanie looks like knitted but it’s not, it’s a crochet beanie. Front post double crochet and back post double crochet makes this beanie looks like knitted.

I made a kid size beanie and the following measurements are for my beanie. You can increase or decrease the size as per your need.

Finished Size:  14’’ inches circumference x 8’ inches height

Material:

Yarn: Caron Simply Soft

Color: Soft Pink

Hook: G/6, 4.25 MM

Scissor

Level: Intermediate (assuming you are familiar with basic crochet stitches) 

Basic Stitches and Abbreviations (US Terms):

sl st – slip stitch

ch  – chain

dc – double crochet

sc – single crochet

Fpdc – Front post double crochet

Bpdc – Back post double crochet

Pattern Notes

This beanie works up from top to bottom. There is no sewing in this beanie.

Pattern is using fpdc and bpdc.

Pattern

Make a magic ring.

Row 1: ch 3, make 12 dc in the magic ring.

Row 2: ch 3, make 2 dc in each ch, total 24 dc.

Row 3: ch 3, make 2 dc in each ch, total 48 dc.

Note: If you want to make a bigger size beanie, make another row of increasing the dc.

Row 4: ch 3, make fpdc and bpdc in the dc from the previous row.

Row 5: ch 3, make fpdc above fpdc from previous row and bpdc on the bpdc.***

Row 6 – 22: Repeat row 5

Row 23:  ch3, *3 dc in 1 ch, sk 1 ch, 3 dc in next ch*, repeat around till end.  This gives a lacy look at the end by making  

Finish the beanie by sewing a big pom pom at the top to give it a gorgeous look.

You can attach a removable Faux fur pom pom if you want. Sew a button inside the beanie and then just attach the pom pom to the button. 

Pom Pom:

You can make a white or red pom pom using the same yarn you used for the beanie.

There are various ways of making pom pom, but I like to use the pompom maker I got from Michaels. It’s easy to use and you don’t waste any yarn while cutting the edges to make it even.

You can also use a faux fur pom pom if you like.  

Fasten off and weave in all ends. Hope you enjoy making this beanie. 

Blue Textured Crochet Beanie Pattern

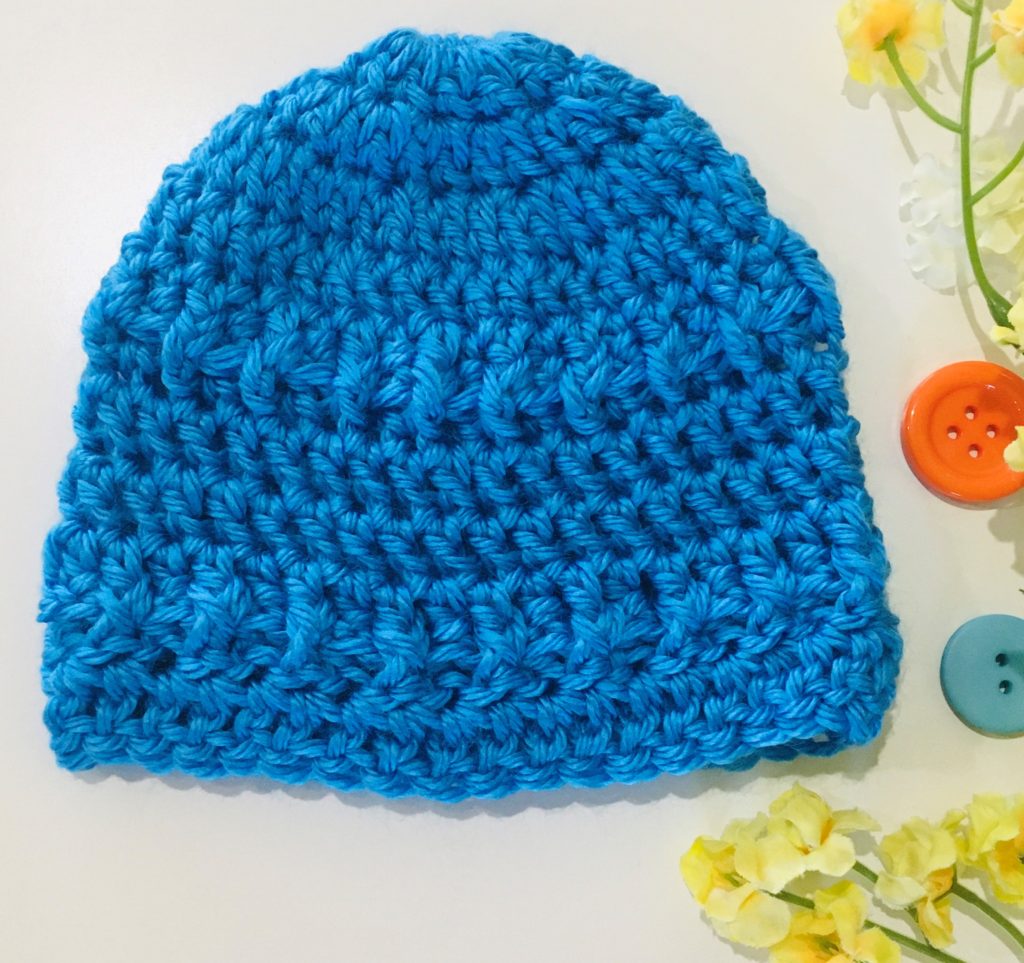
Blue Textured Crochet Beanie

Newborn beanies are perfect for gifts or for donations to nearby hospitals. These beanies are very useful for first time parents as sometimes they don’t get time to plan and prepare for the baby. Make it in a bigger size and make it a perfect gift for adults as well.  One row of front post double crochet gives this beanie some nice texture that looks great on any size beanie.  

This beanie is not complicated to make if you are familiar with front post double crochet, so I will suggest practicing this stitch before trying the beanie. Once you get used to making front post double crochets it’s easy to make this beanie.

Finished Size:  11 inches circumference X 5 inches height

Material:

Level: Intermediate (assuming you are familiar with basic crochet stitches) 

Basic Stitches and Abbreviations (US Terms):

  • sl st – slip stitch
  • ch  – chain
  • dc – double crochet
  • sc – single crochet
  • Front post double crochet

Pattern Notes

  • This beanie is worked from top to bottom.
  • You start with a magic ring and increase the stitches for the  first few rows to make a circle.
  • After you get the desired size of the back of your head, stop increasing and just continue the rounds to get the beanie shape.
  • After each row join the circle and turn your work for the next row

Pattern

Make a magic ring.

Row 1: ch 3, and make 11 dc in the magic ring. Total 12 including the starting ch 3. Join the circle and turn your work after each row

Row 2: ch 3, and make 2 dc in each chain from the previous circle. Total 24 dc.

Row 3: ch3, and make 2 dc in each chain from the previous circle. Total 48 dc.

Note: You can increase by making 2 dc in the same chain for another one or two rows for bigger size.

Row 4: ch 3, and make 1 dc in each chain from the previous circle. Total 48 dc. (No increase) 

Row 5: ch3, and make 1 dc in each chain from the previous circle. 

Row 6: ch3 and mMake front post dc in alternate dc from previous circle. (This is the textured row in between)

Row 7: ch 3, and make 1 dc in each chain from the previous circle.

Row 9: ch 3, and make 1 dc in each chain from the previous circle

Row 10: ch 3 and make front post dc in alternate dc from previous circle. ( This is 2nd textured row)

Row 11: ch 3 and make 1 dc in each chain from the previous row.

Reverse the beanie inside out, as we made front post double crochets inside while working on this beanie.

Fasten off and weave in all ends. Hope you enjoy making this cute little beanie. 

Red Ribbed Crochet Beanie Pattern

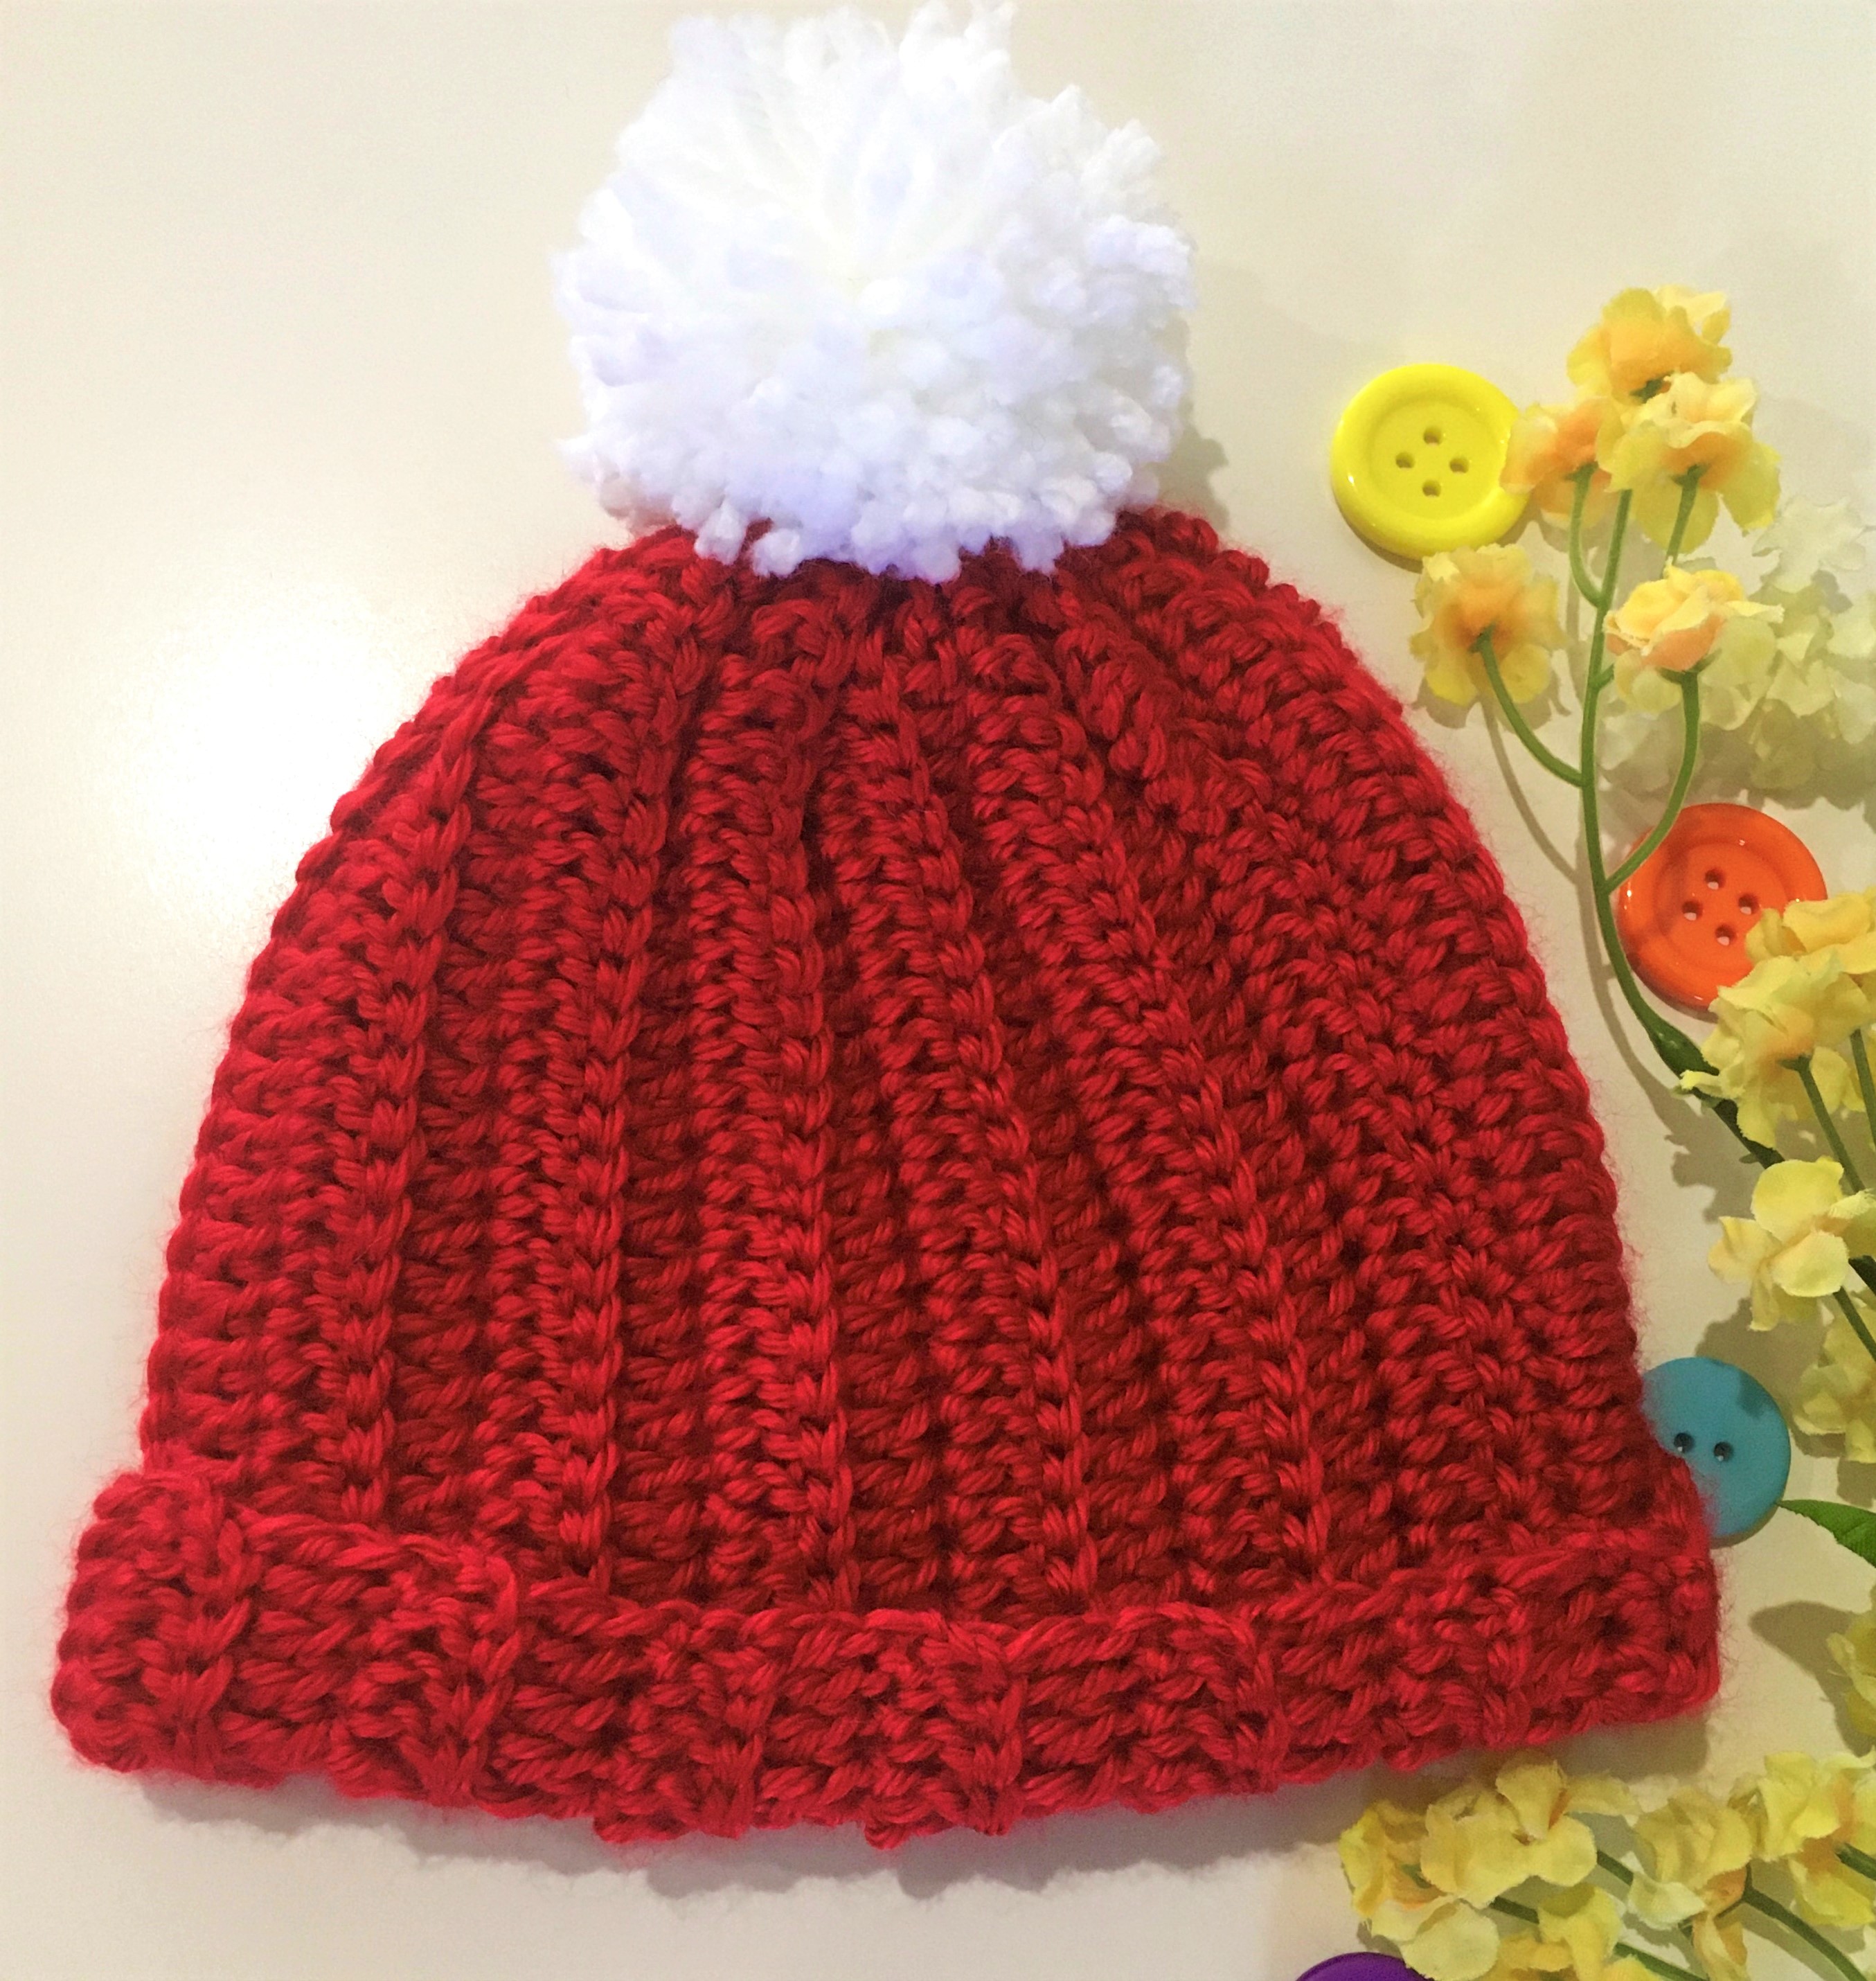
Little Red Ribbed Beanie

If you are looking for a simple, easy, quick as well as useful project then this is a perfect project for a beginner. If you can crochet you can make this beanie in no time. Make this beanie for yourself or you can gift it to someone you love. This pattern is great for kids, men or women and it can be made in any size. You can make it a slouchy beanie just by adding a few more chains at the beginning. I made a kid size beanie so the following measurements are for my beanie. You can increase or decrease the number of chains or rows as per your measurements. So let’s get started.

Finished Size:  13 ‘ circumference and 7 inches height.

Material:

Yarn: Caron Simply soft

Color: Autumn Red

Hook: G-6/4.25

Scissor

pompom

Level: Easy (assuming you are familiar with basic crochet stitches) 

Basic Stitches and Abbreviations (US Terms):

sl st – slip stitch

ch  – chain

dc – double crochet

sc – single crochet

Double crochet in back loop 

Pattern Notes

Number chains will be the height of the beanie. Measure your size from forehead to center of your head. You can increase the number of chains to get a slouchy look and also fold the beanie as needed.

Number rows will be the circumference of the beanie. So you can measure the circumference of the head 

Special stitch: double crochet in back loop only.

Pattern

Chain 33

Row 1:  1 dc in the 4th ch from the hook. Make dc in each chain till end (total 30 dc), turn

Row 2:  ch3, dc in the back loop of the previous row till end.

Row 3: -25 : Repeat row 2. 

I made a total of 27 rows to get the circumference of 13 inches.

Do not cut the yarn. You can use the same yarn to join the two sides of the rectangle with sl stitch. Fold the rectangle and sew the open sides with sl st.

Gather the top using a running stitch at the edge of the rectangle.  Pull one end of the yarn to bring the edge together. Tie the yarn tightly and weave the end.

Finish the beanie by sewing a big pom pom at the top to give it a gorgeous look.

Pom Pom:

You can make a pom pom using the same yarn you used for the beanie.

There are various ways of making pom pom, but I like to use the pompom maker I got from Michaels. It’s easy to use and you don’t waste any yarn while cutting the edges to make it even.

You can also use a faux fur pom pom if you like.  

Fasten off and weave in all ends. Hope you enjoy making this cute ribbed beanie.