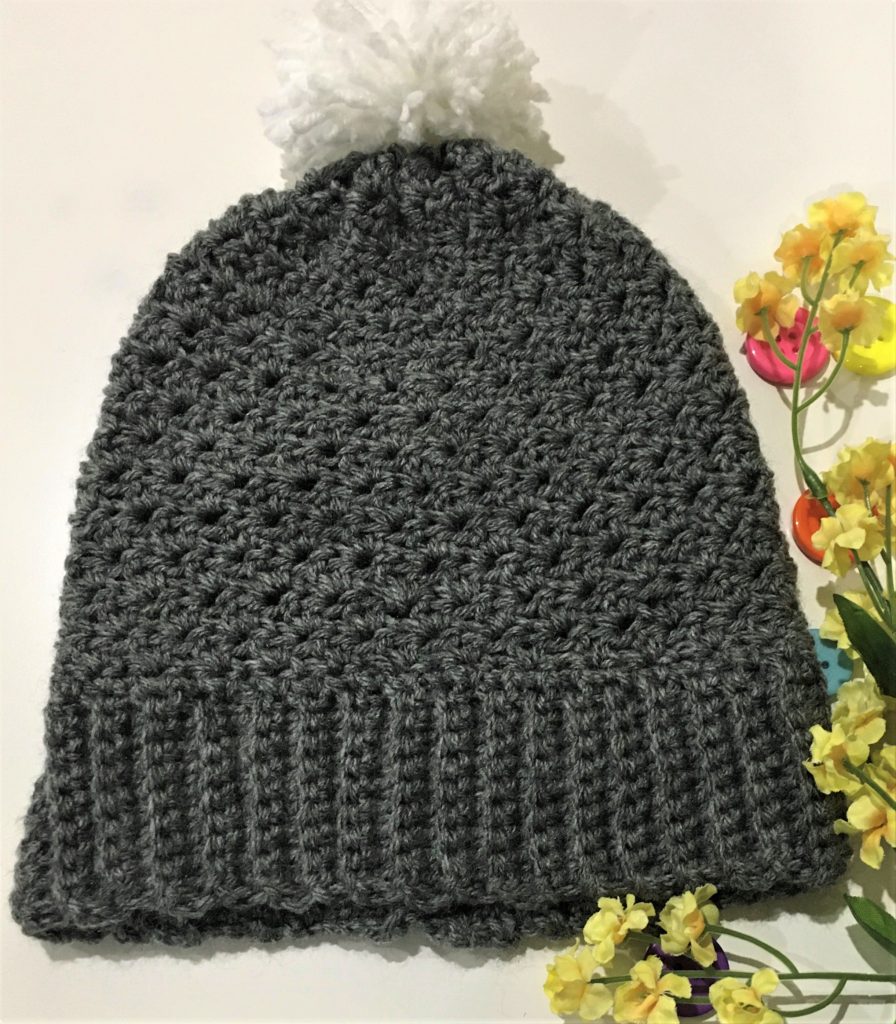
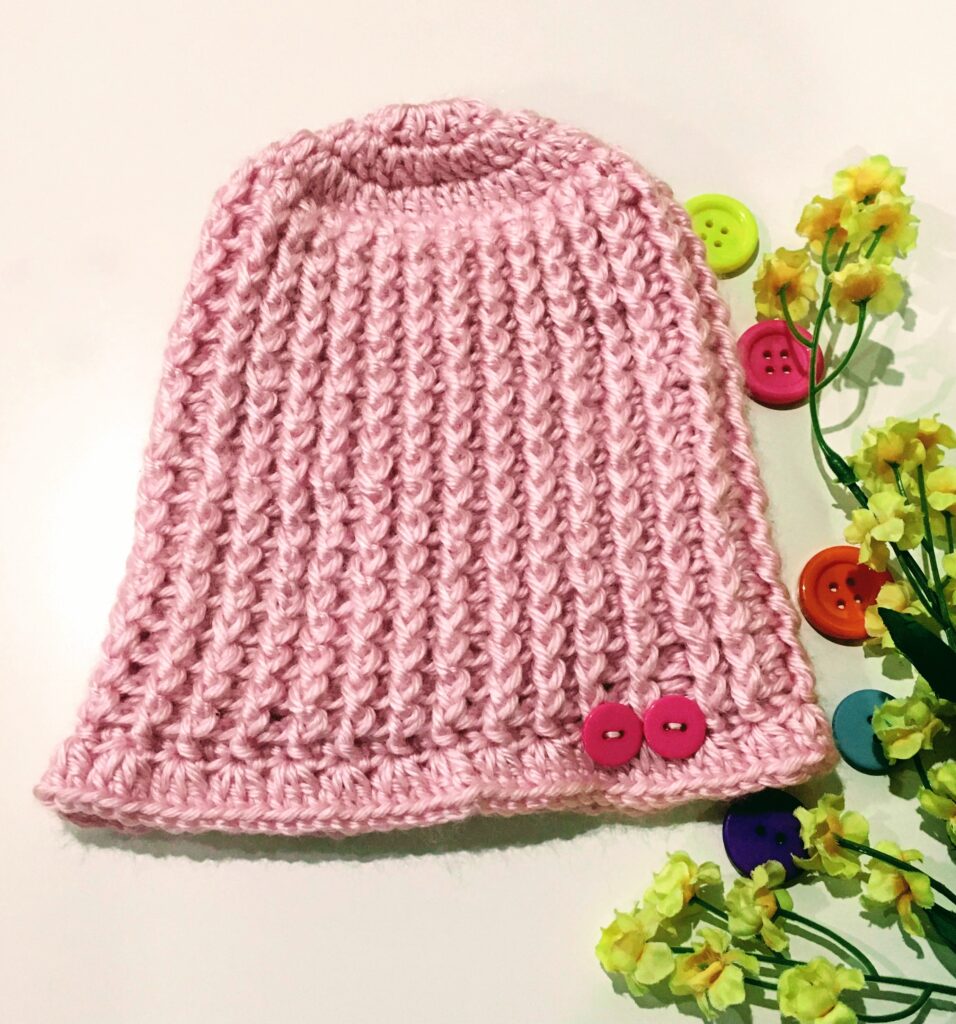
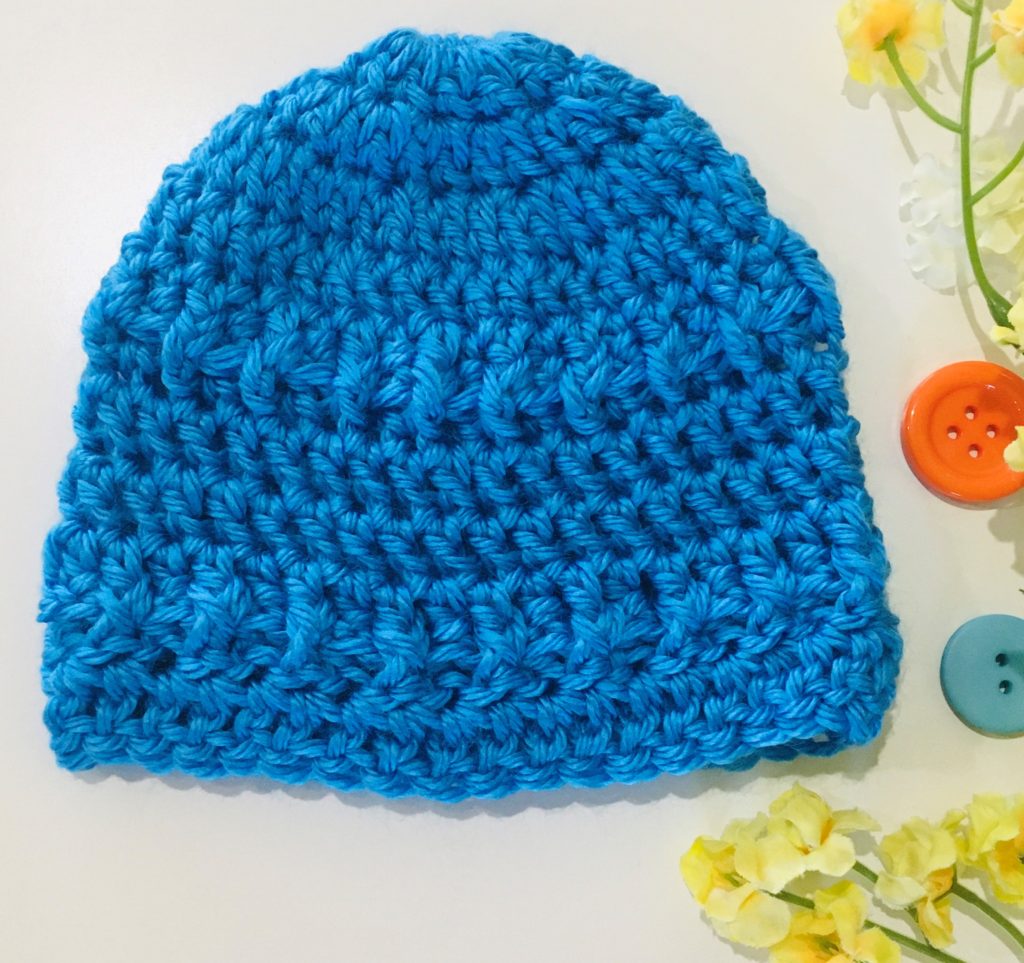
Beautiful beanie in mushroom or pearl color is good for any occasion and looks good on any outfits. If you are rushing to work in the morning and have no time to color coordinate your outfits then this is an easy grab and go beanie that will match on any outfit perfectly and will keep you warm during those cold winter mornings.
This beanie is very easy to make and also has a nice texture. I used Craft Smart Yarn in mushroom color from Michaels but you can use any color yarn you like. Crafty Smart value economical yarn is good yarn for its price. You get more yardage for a reasonable price compared to other yarns.
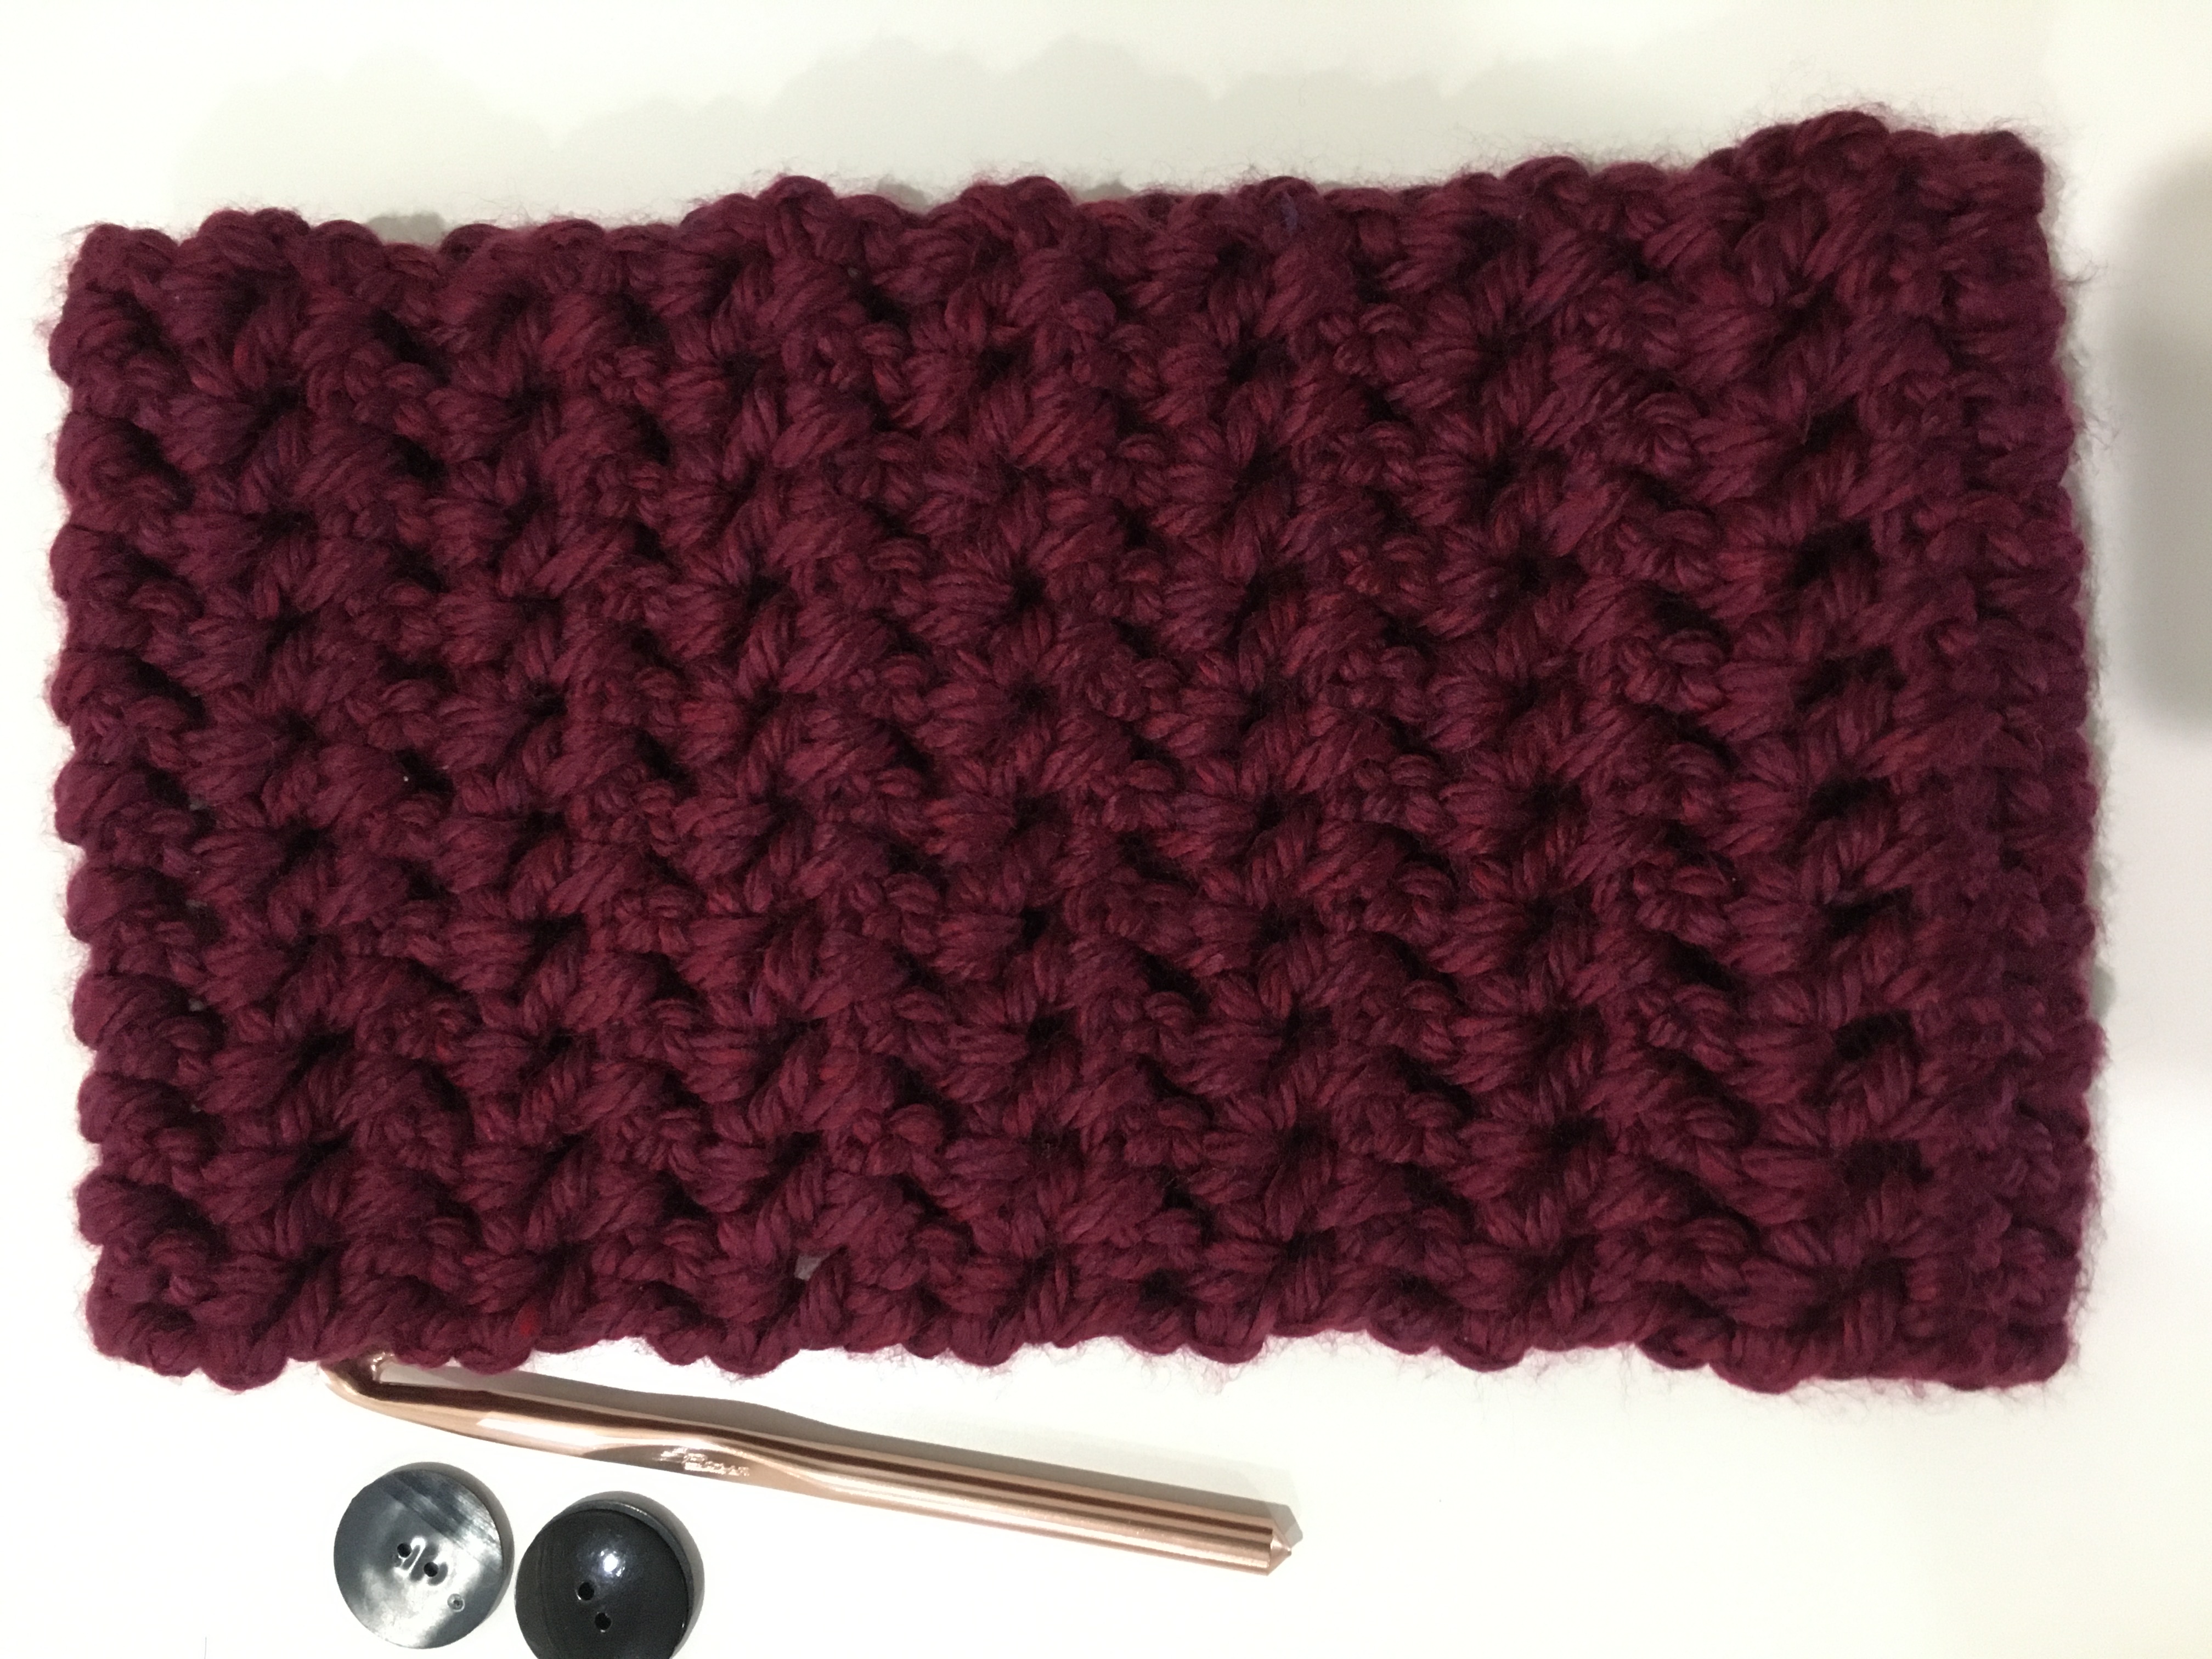
I used a smaller crochet hook than recommended to give a delicate look to this beanie.
Finished Size: 18’ inches circumference x 11 ½’ inches total height.
11’ inches height = 3’ inches border + 8’ inches of pattern height
Material:
Yarn: Craft Smart Value Yarn
Color: Mashroom
Hook: G/6, 4.25 MM
Scissor
Level: Easy (assuming you are familiar with basic crochet stitches)
Basic Stitches and Abbreviations (US Terms):
sl st – slip stitch
ch – chain
dc – double crochet
sc – single crochet
Pattern Notes:
There is no special stitch, just alternate sc and hdc gives this beanie a nice textured look.
Pattern is repeat of sc and hdc in separate chains.
I am using a smaller hook to get the delicate look for this beanie.
Pattern:
Row 1: 1 sc in first 12 chains ( border), 1 sc in the next chain, 1 hdc in the next chain, repeat 1 sc and 1 hdc till end (pattern).
Row 2: ch 1, 1 sc in the next chain, 1 hdc in the next chain repeat till last 12 chains are left. 1 sc in the last 12 chains for the border
Row 3-60: Repeat row 1 and 2
Do not cut the yarn. You can use the same yarn to join the two long sides of the rectangle with sl stitch. Fold the rectangle and sew the longer sides with sl st.
Gather the top using a running stitch at the edge of the rectangle. Pull one end of the yarn to bring the edge together. Tie the yarn tightly and weave the end.
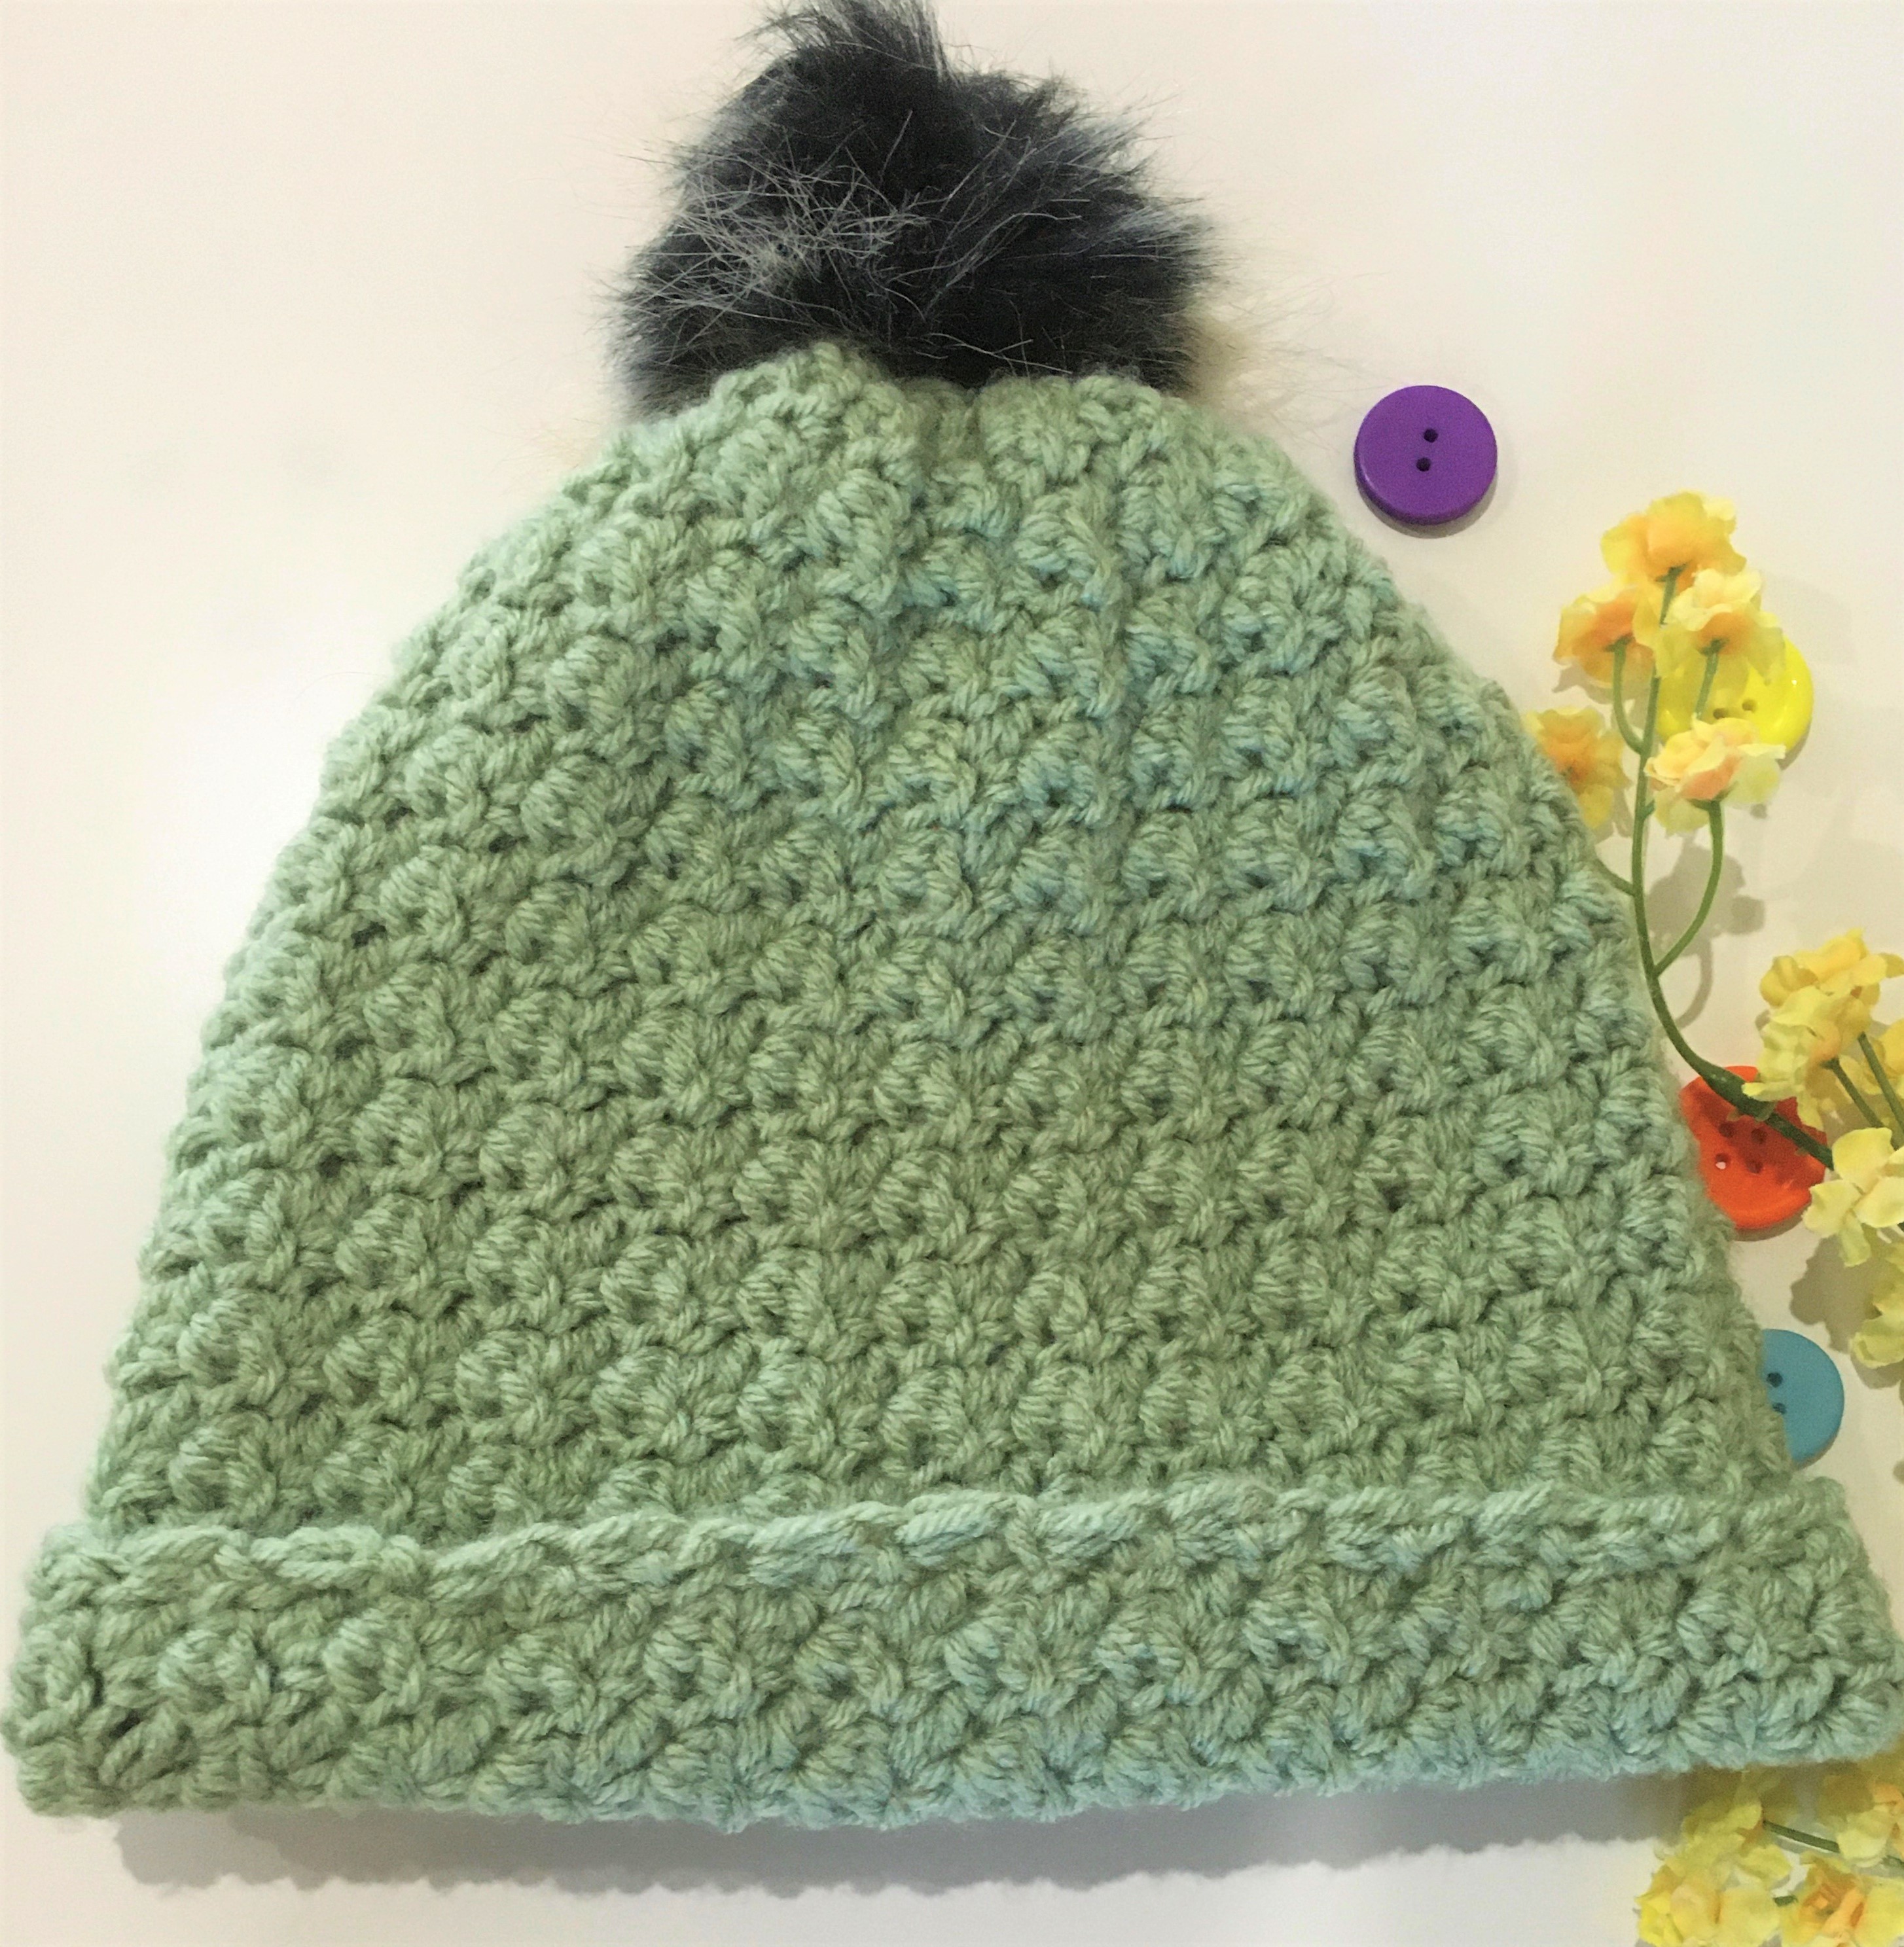
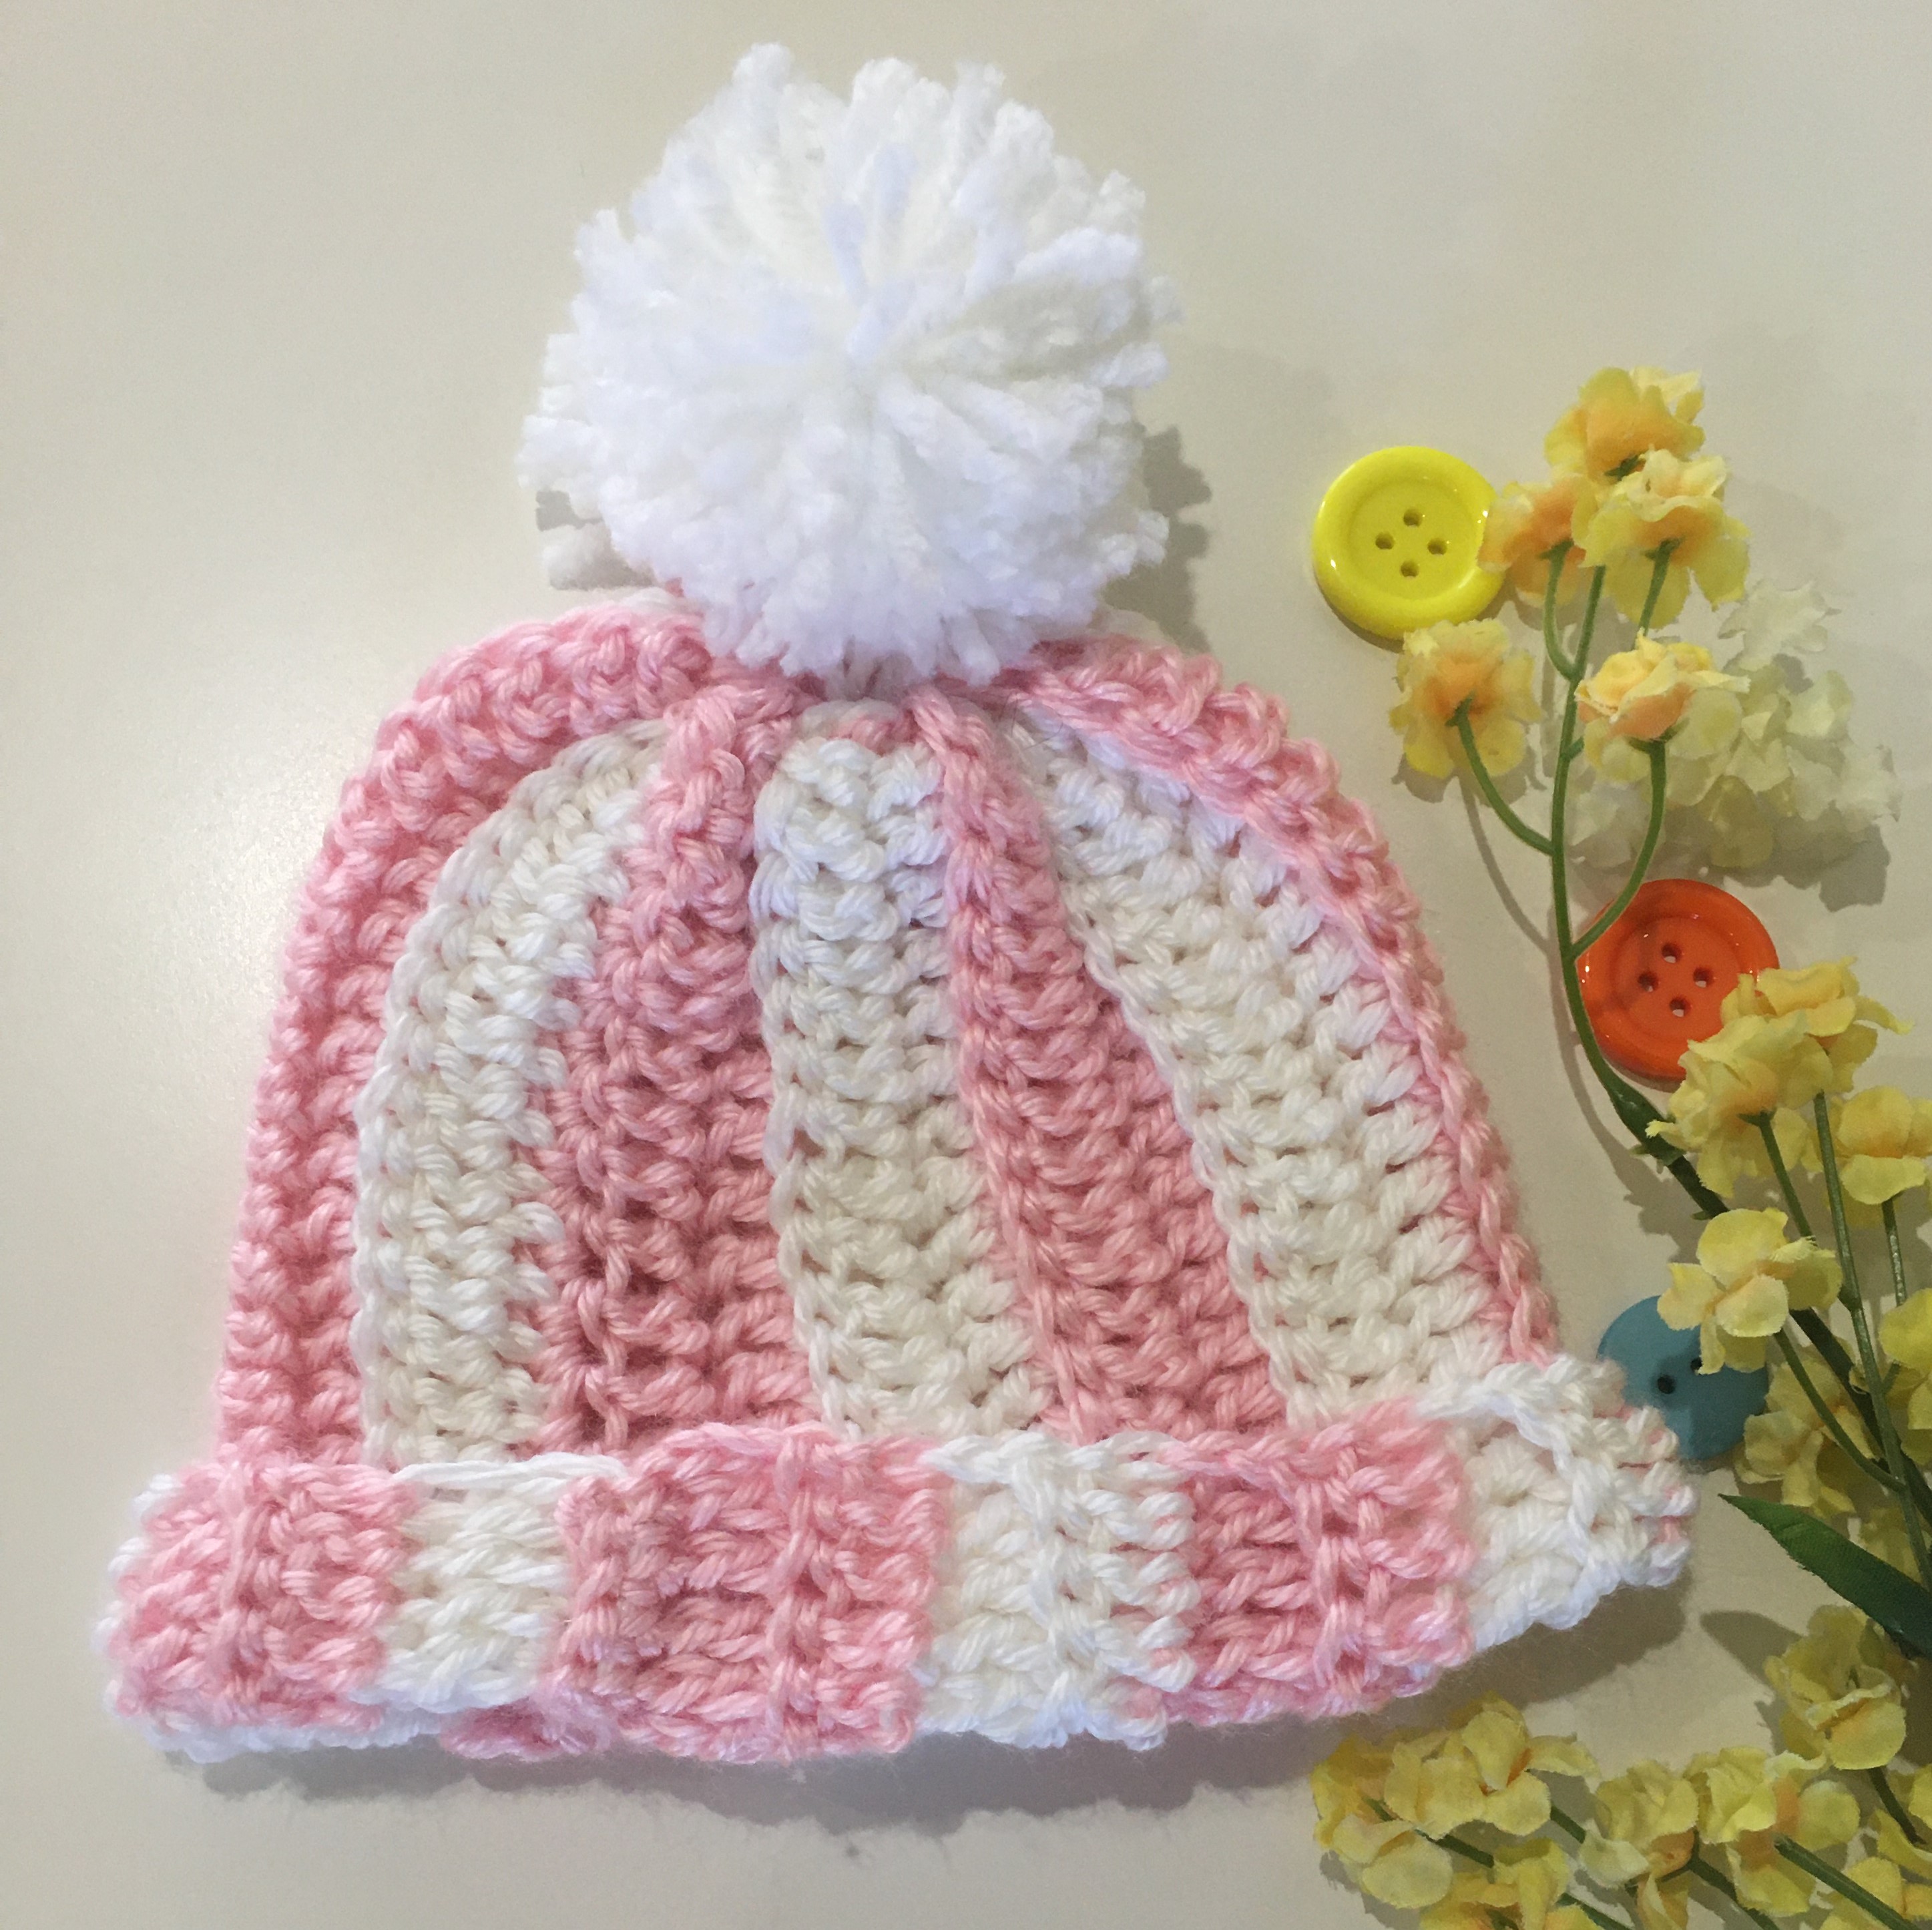
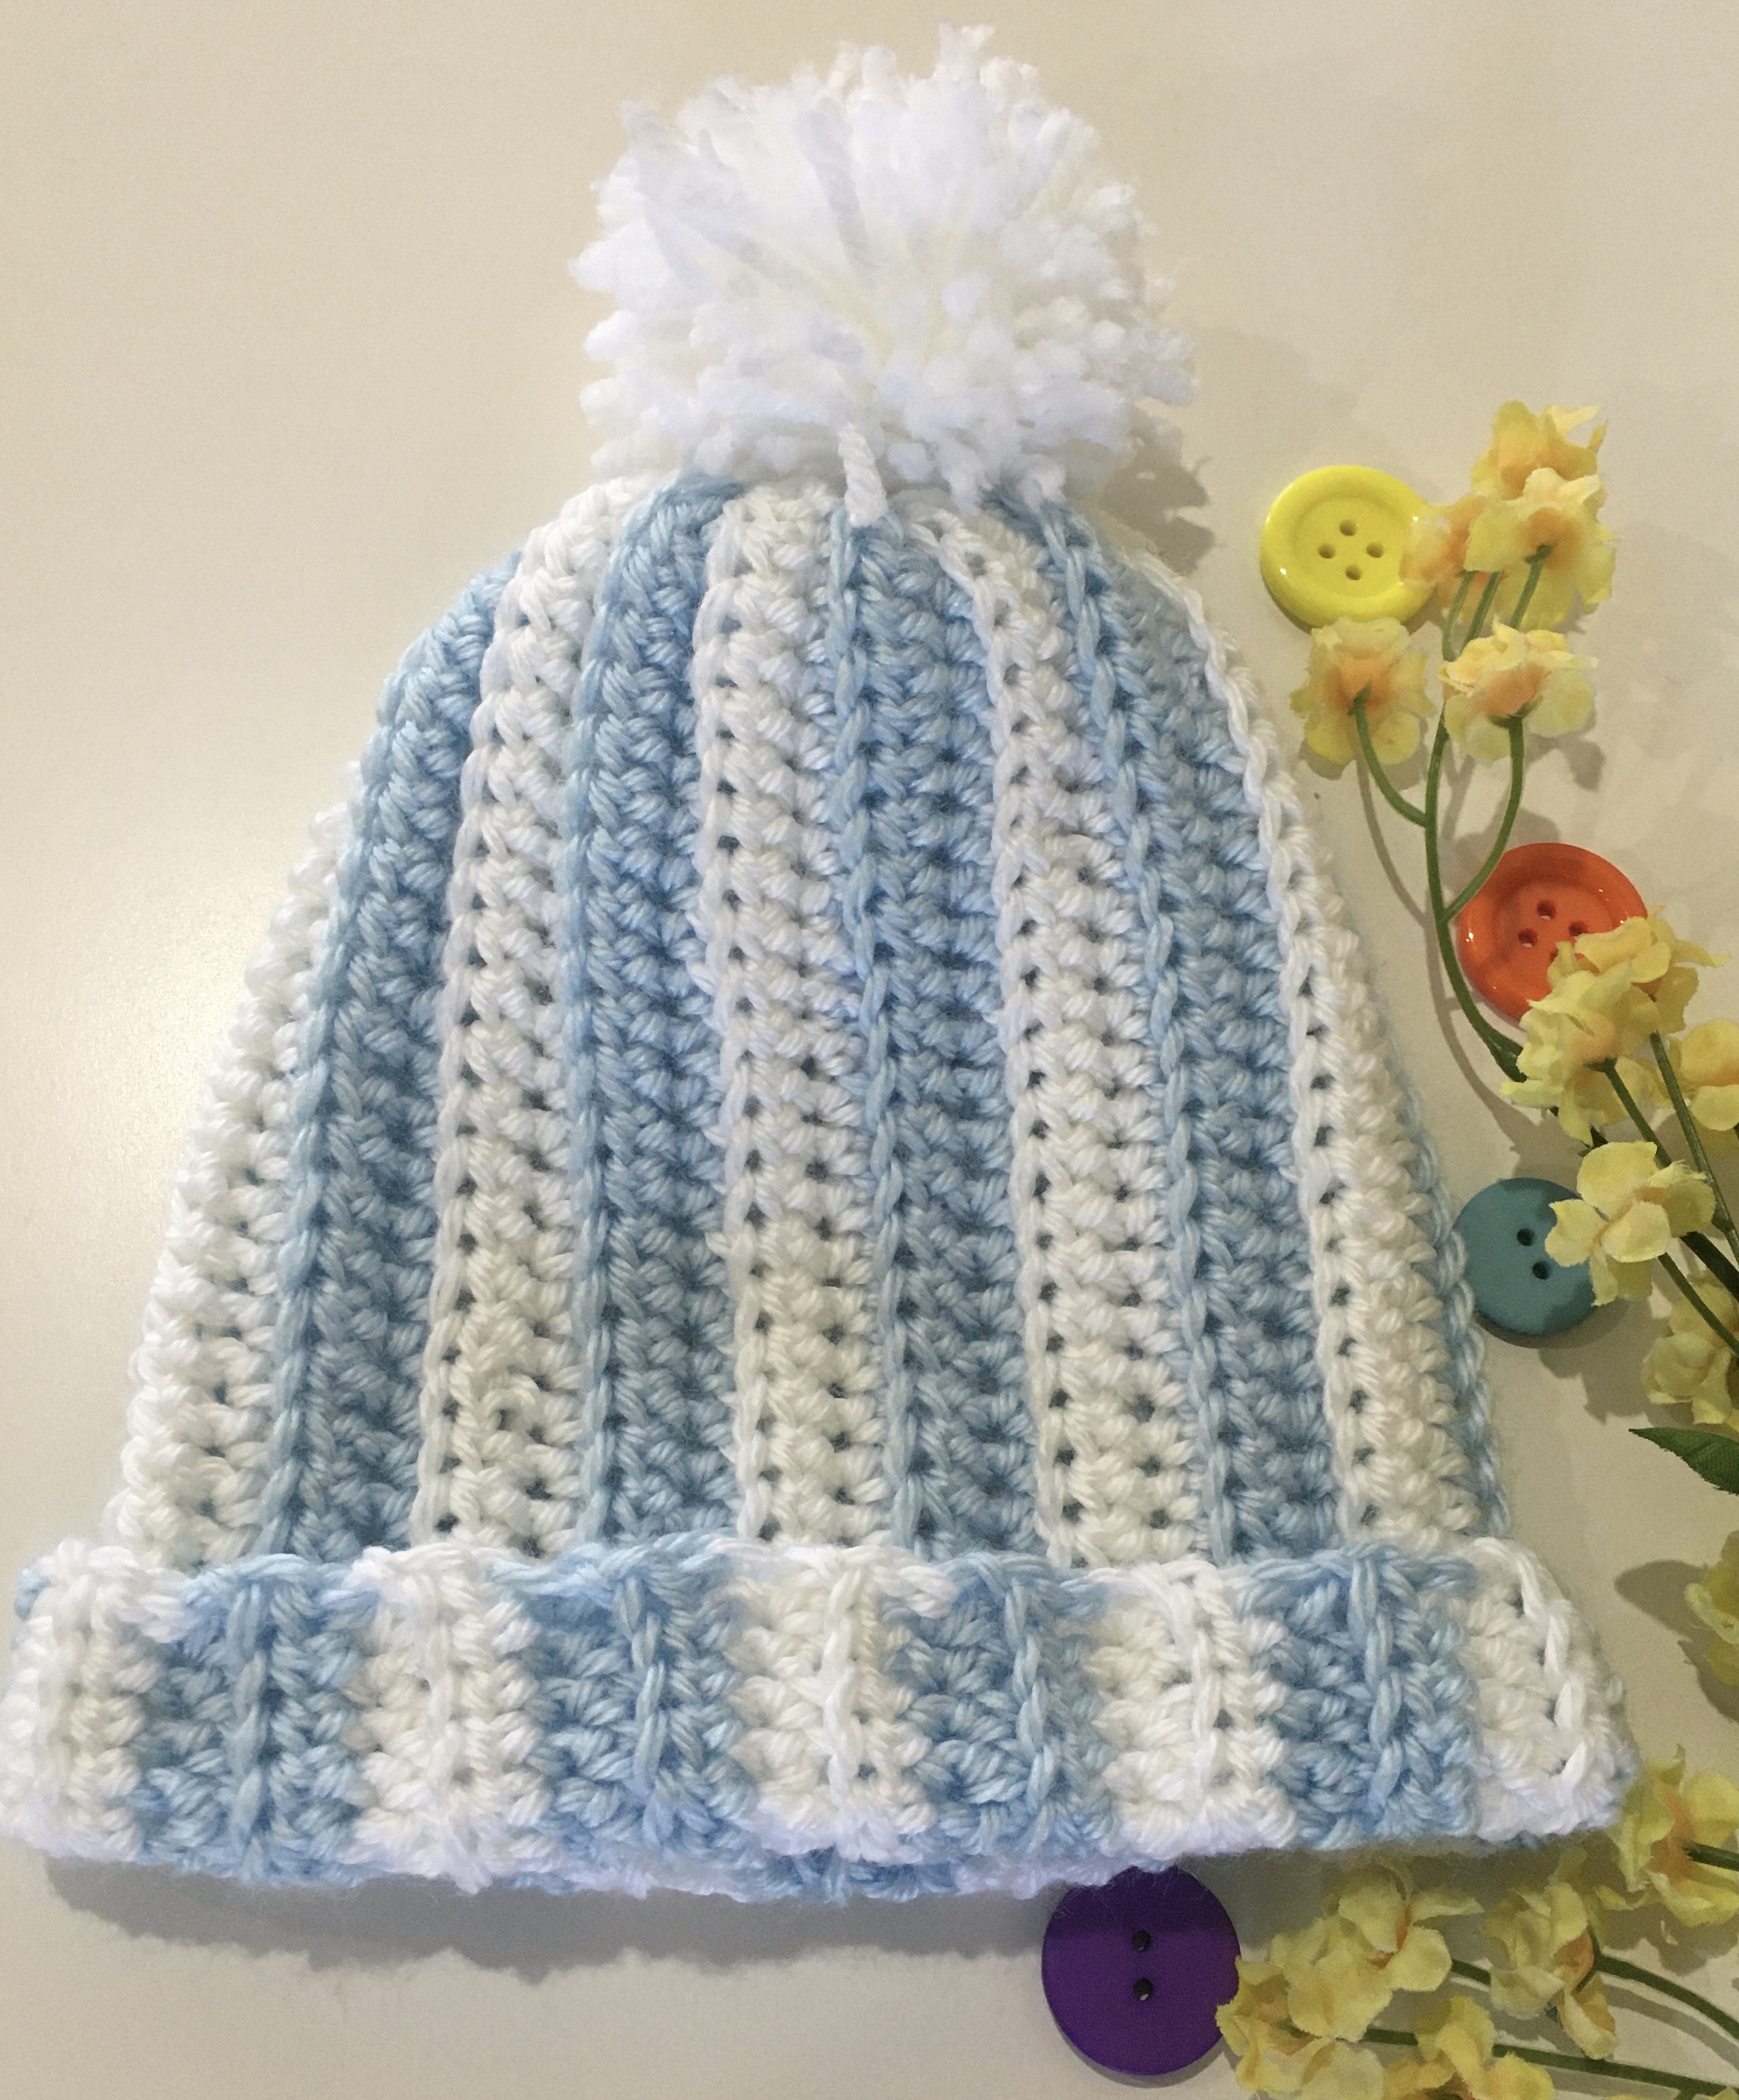
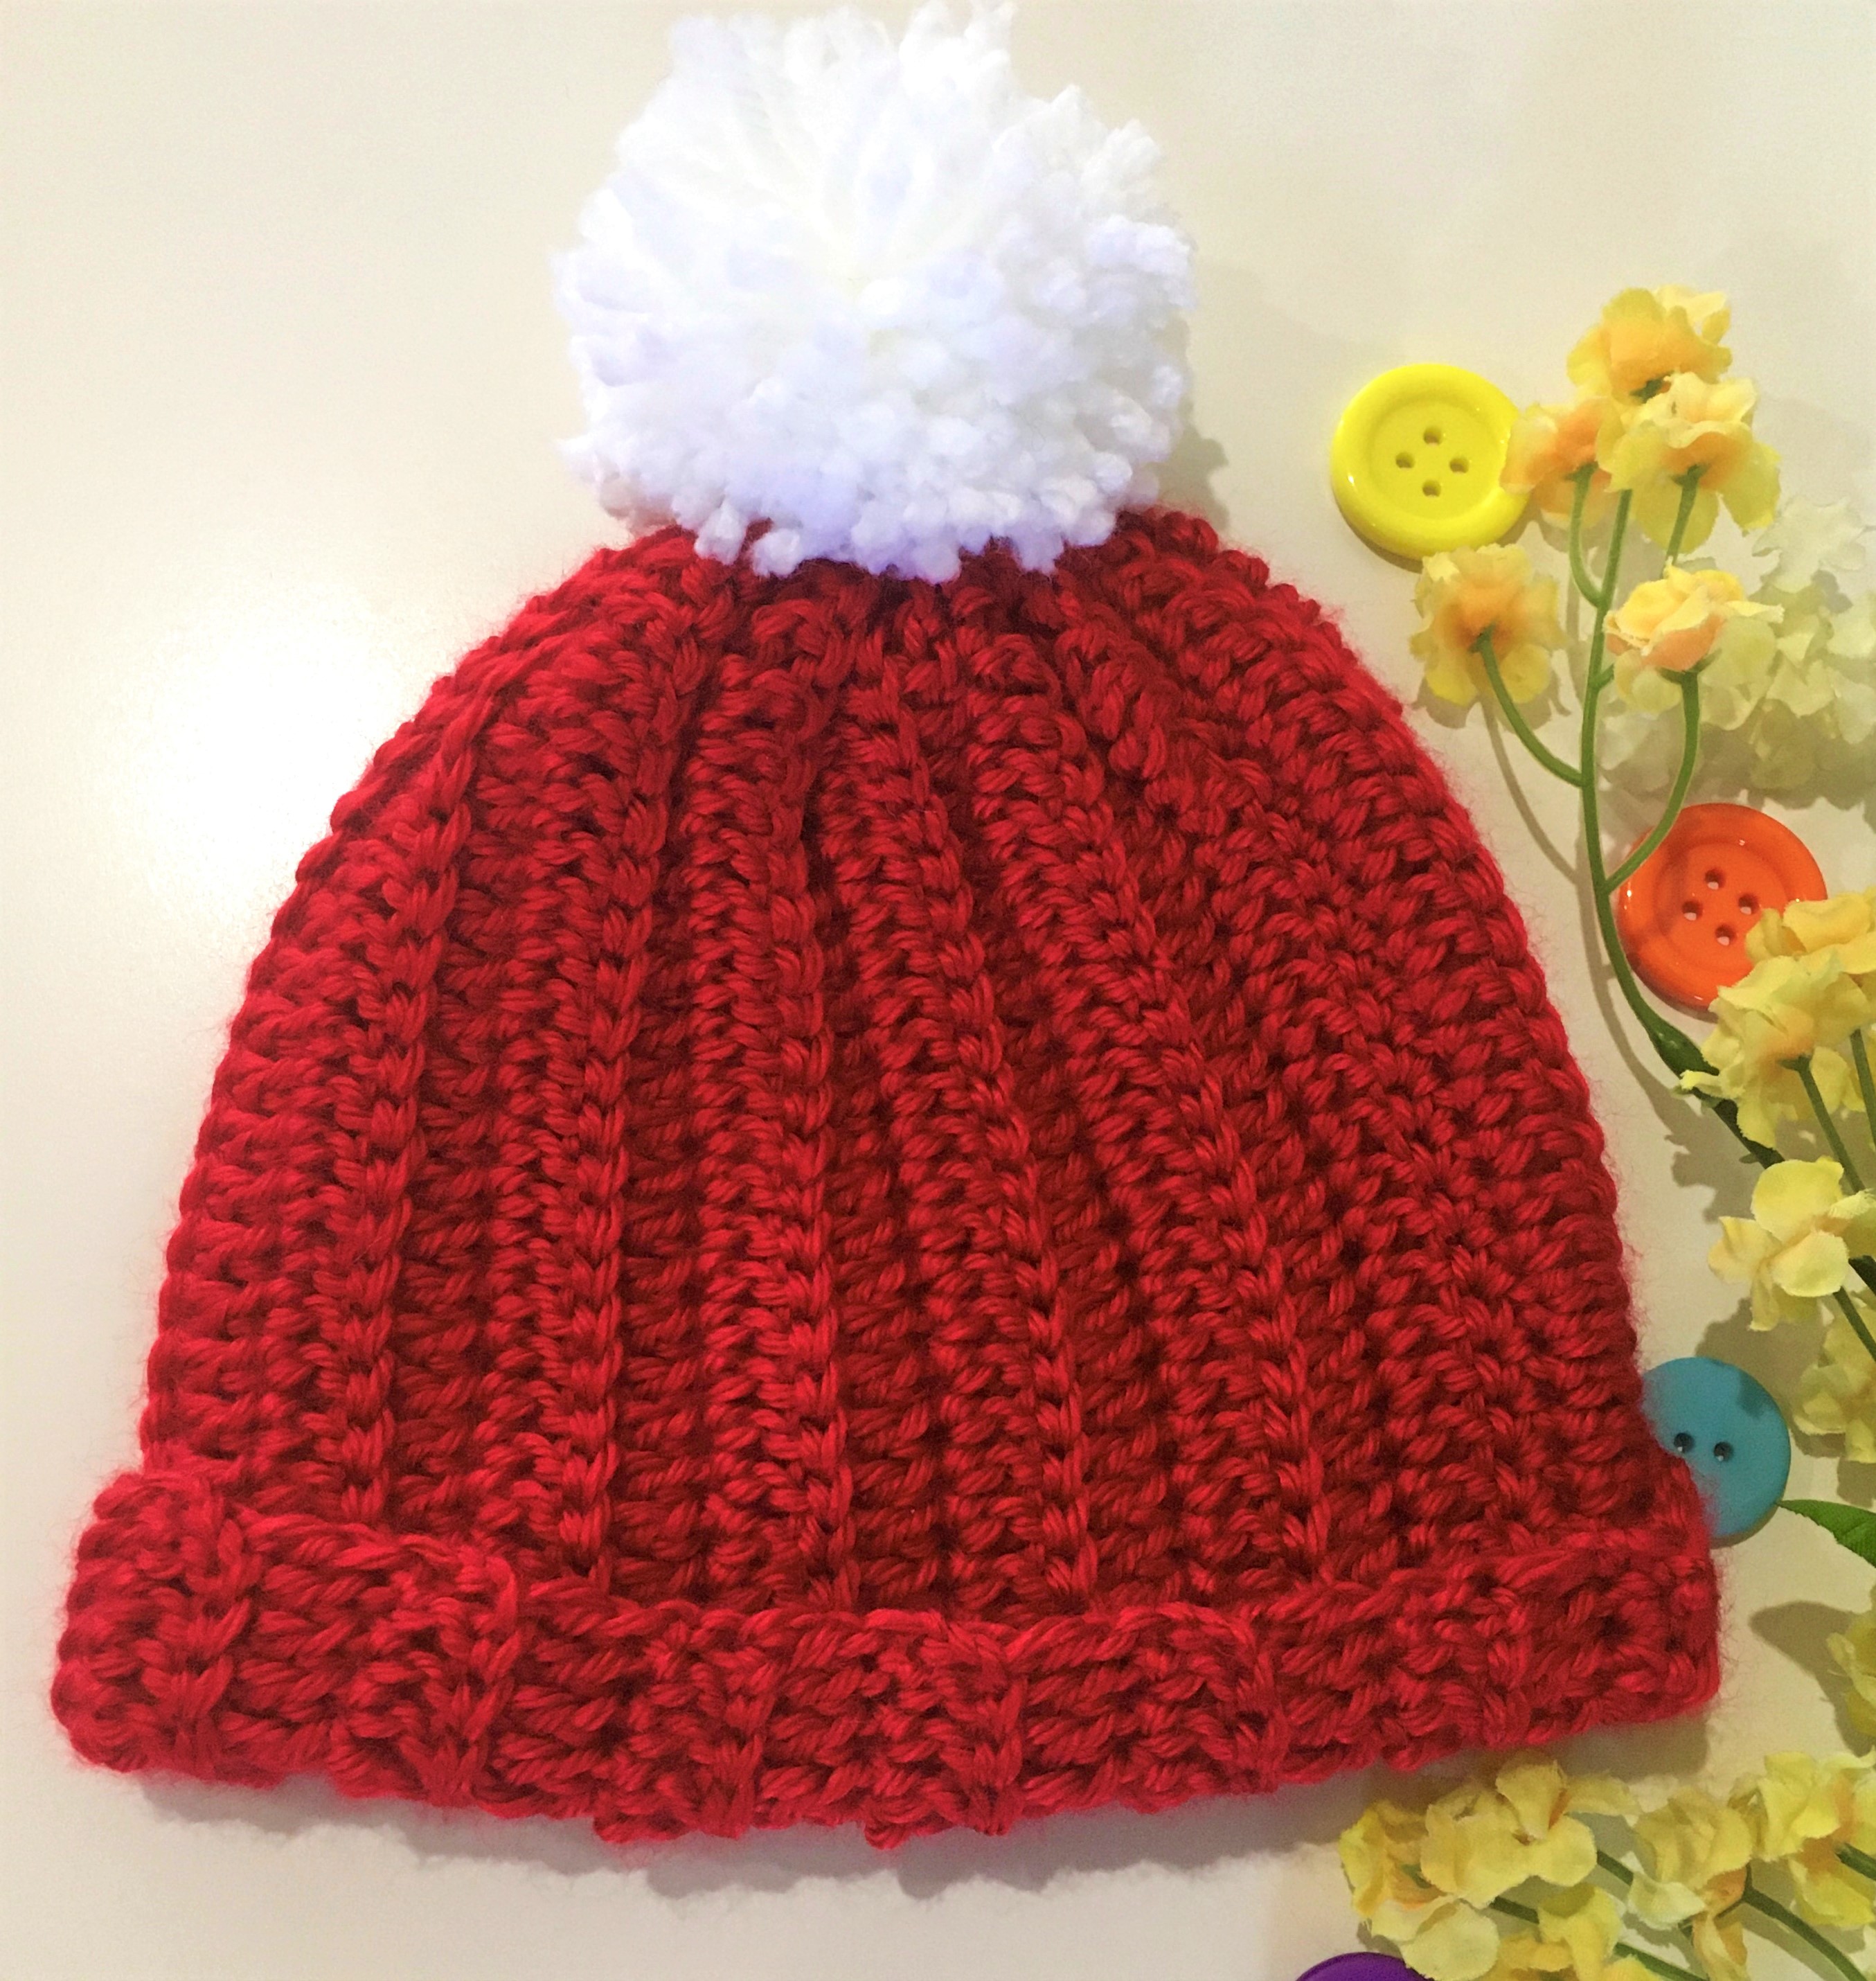
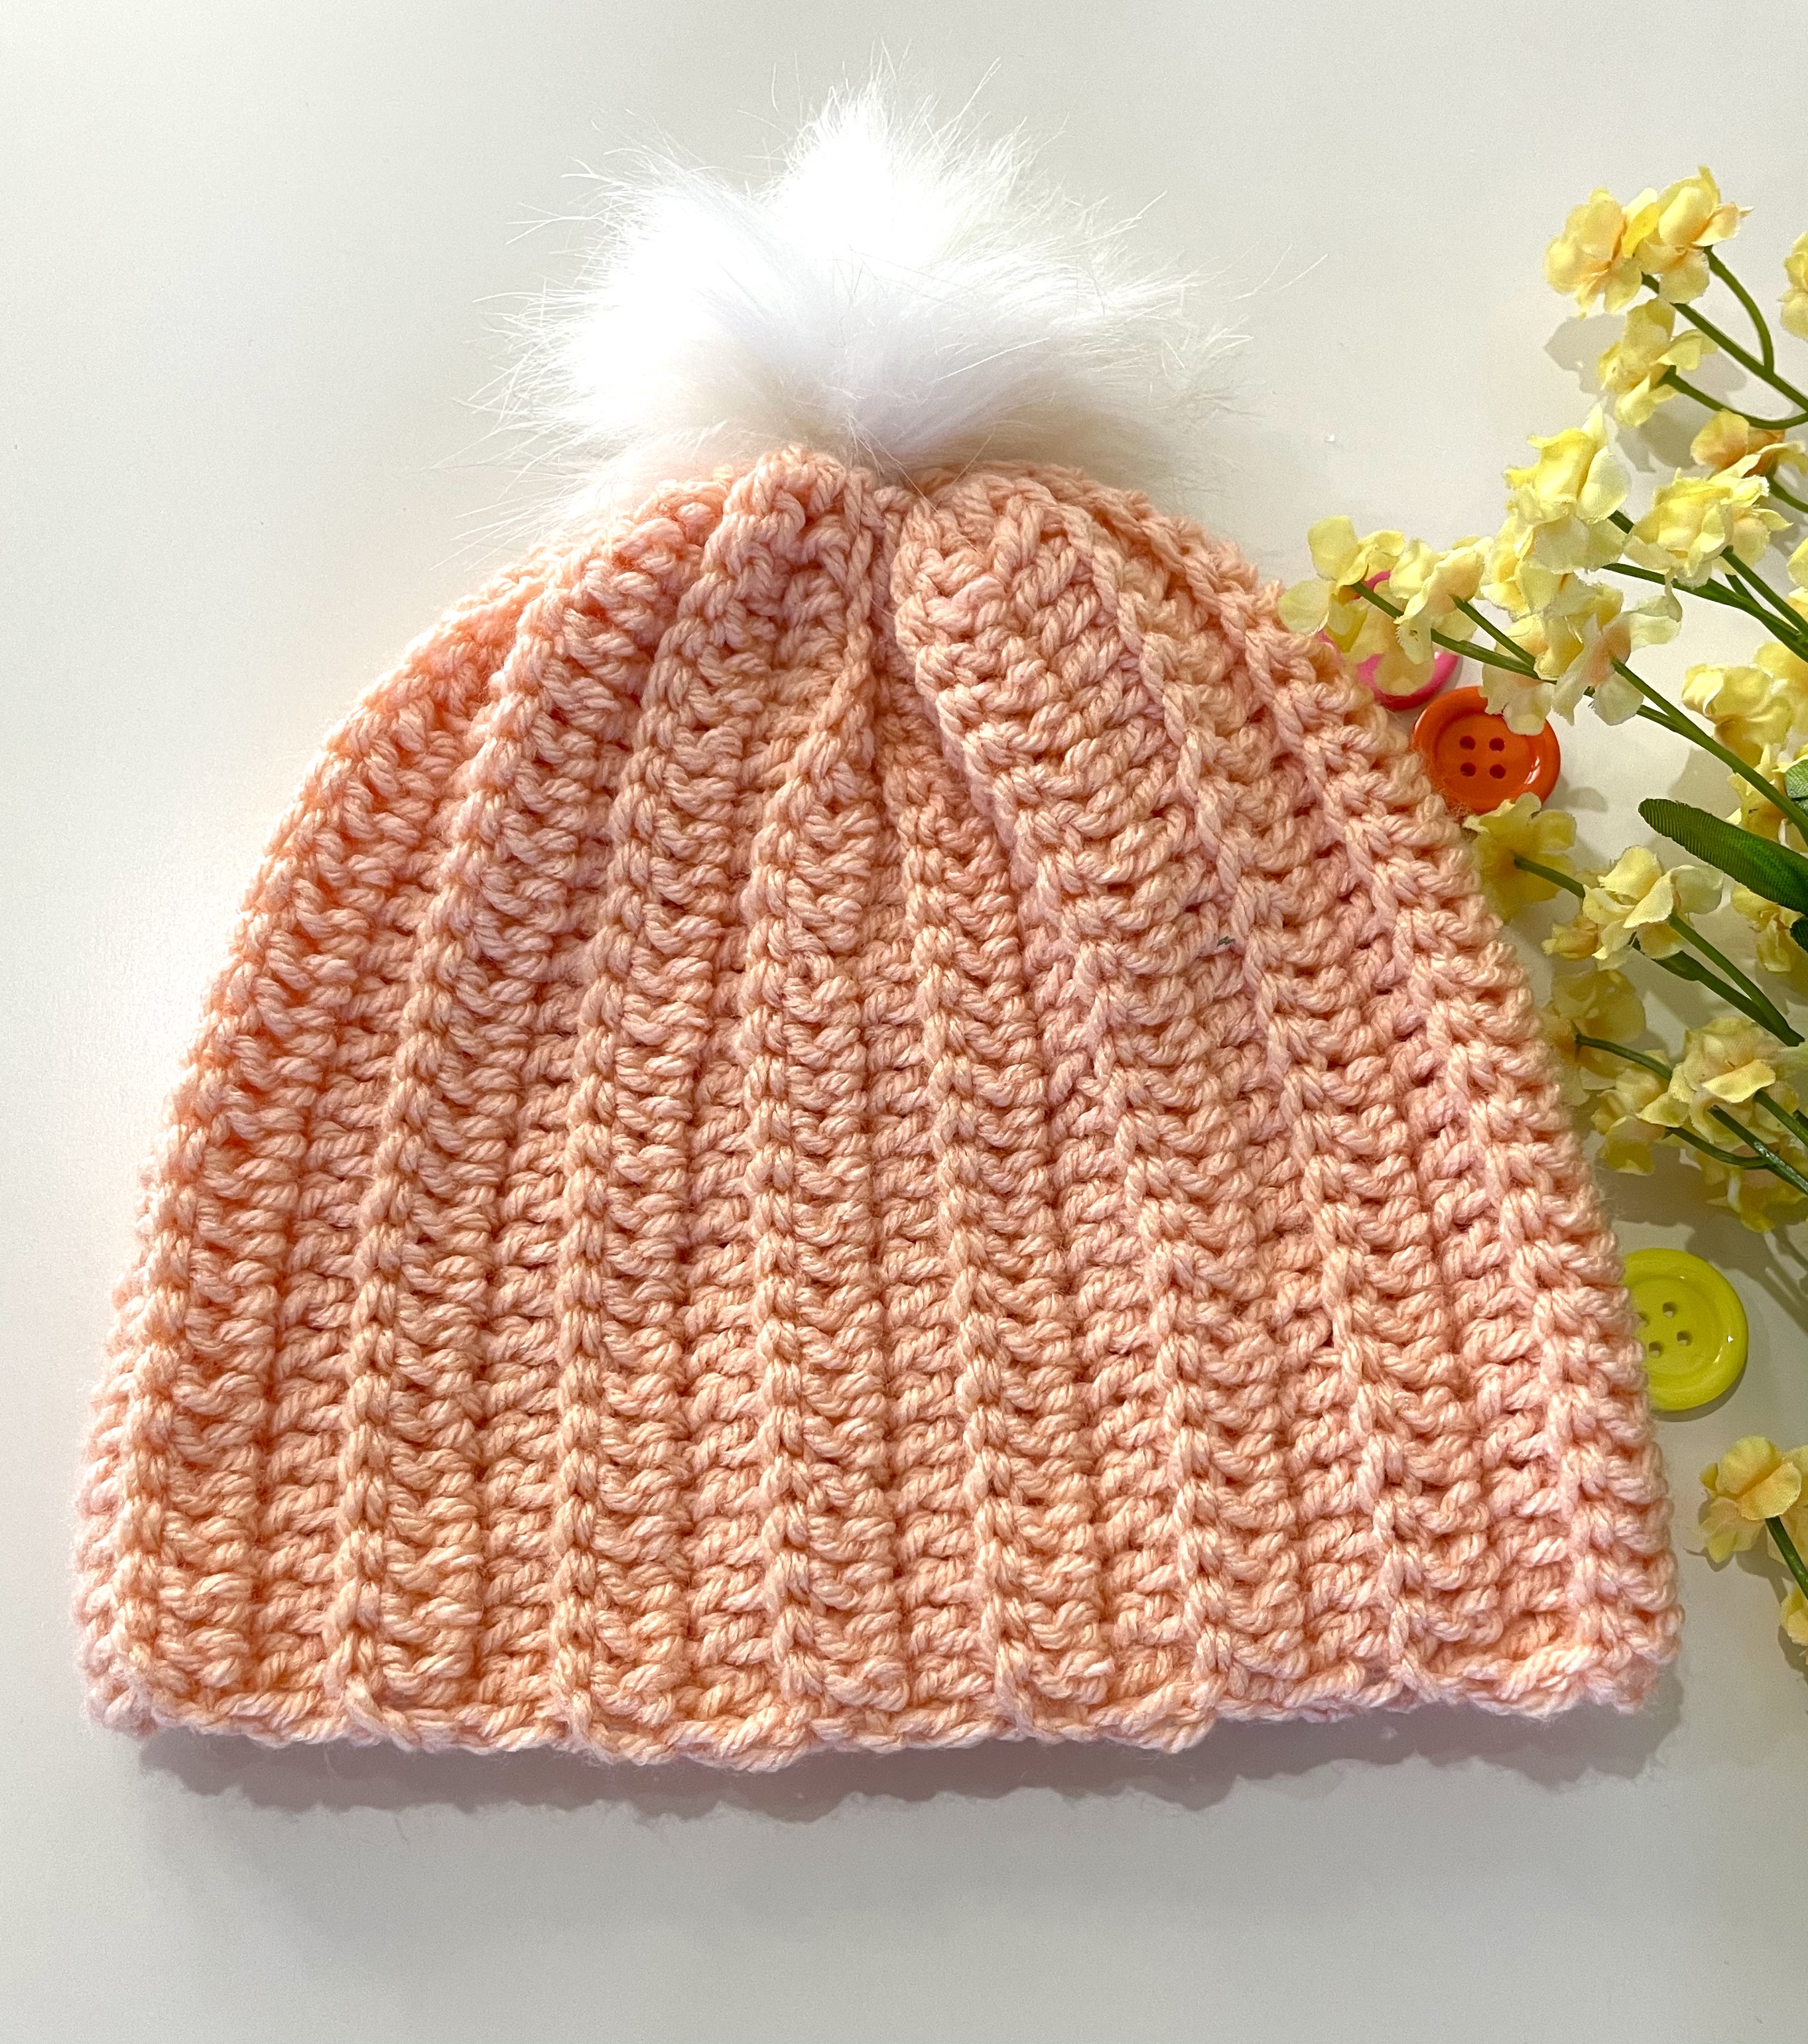
Finish the beanie by sewing a big pom pom at the top to give it a gorgeous look.
Pom Pom:
You can make a white or red pom pom using the same yarn you used for the beanie.
There are various ways of making pom pom, but I like to use the pompom maker I got from Michaels. It’s easy to use and you don’t waste any yarn while cutting the edges to make it even.
You can also use a faux fur pom pom if you like.
Fasten off and weave in all ends. Hope you enjoy making this beanie.
Fasten off and weave in all ends. Hope you enjoy making this cute bucket beanie.