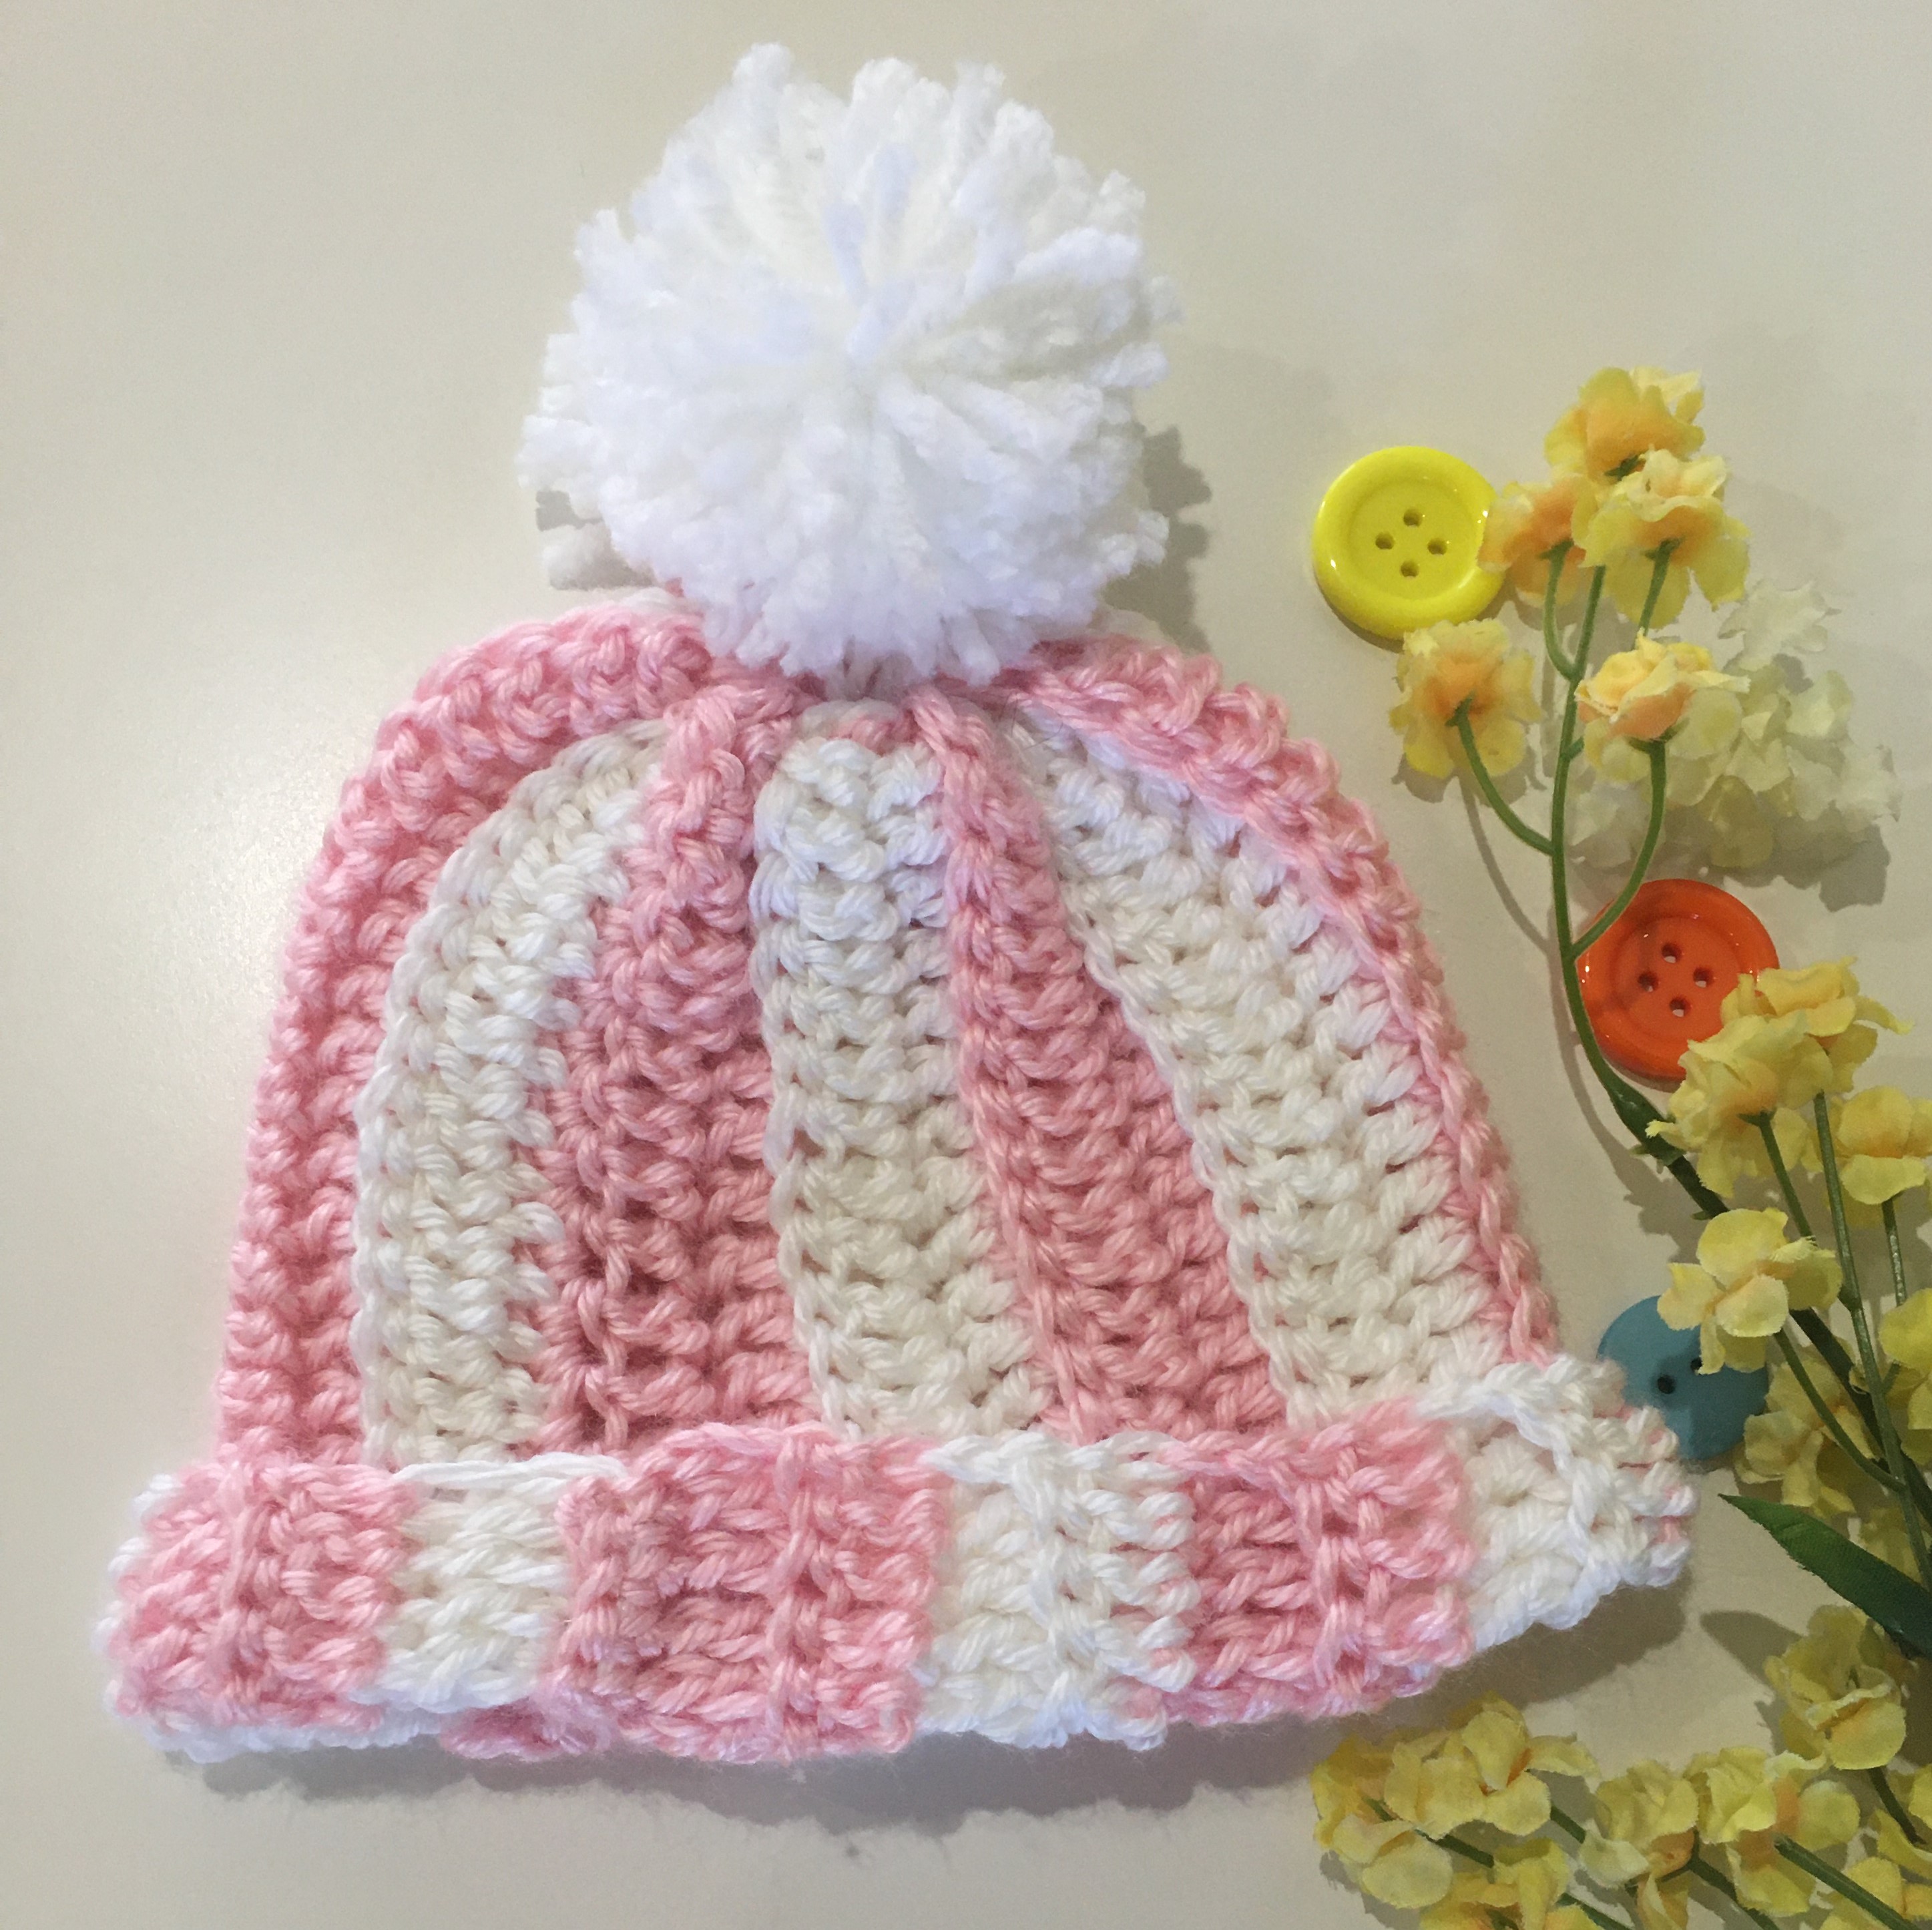
Colorful beanie with simple stitches makes this an easy project for beginners and also gives something challenging to change color and learn the next steps in crochet.
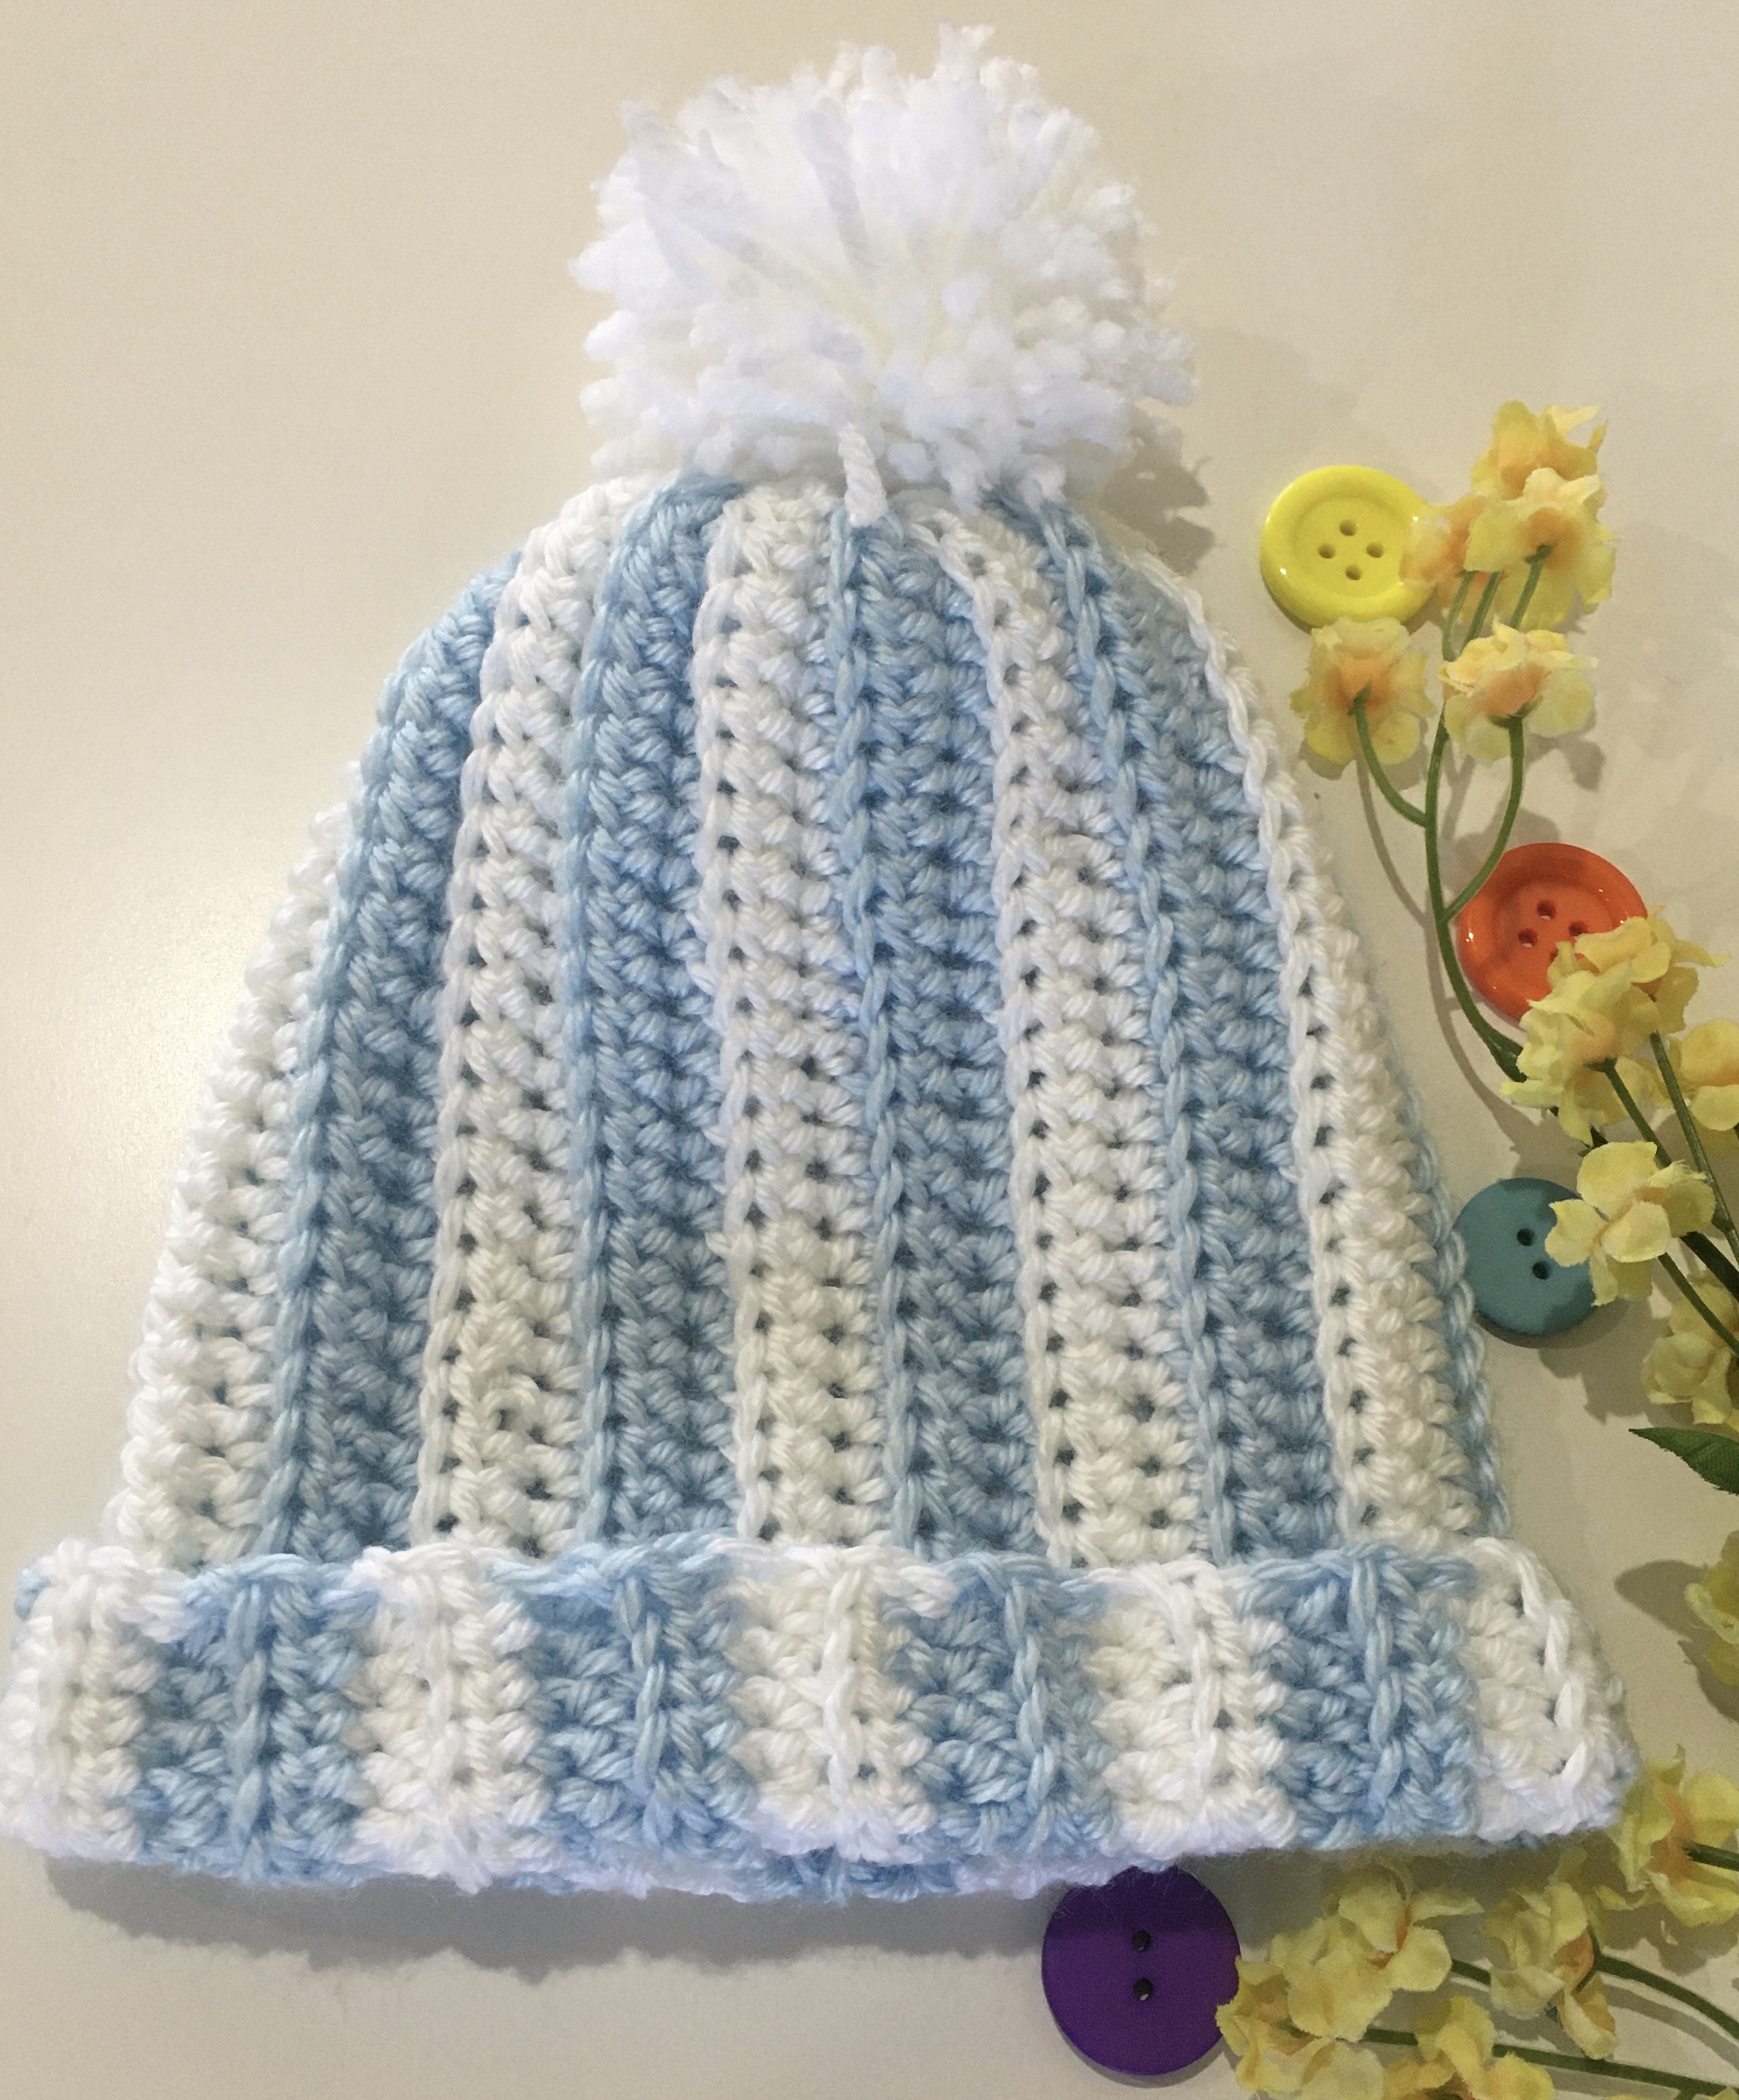
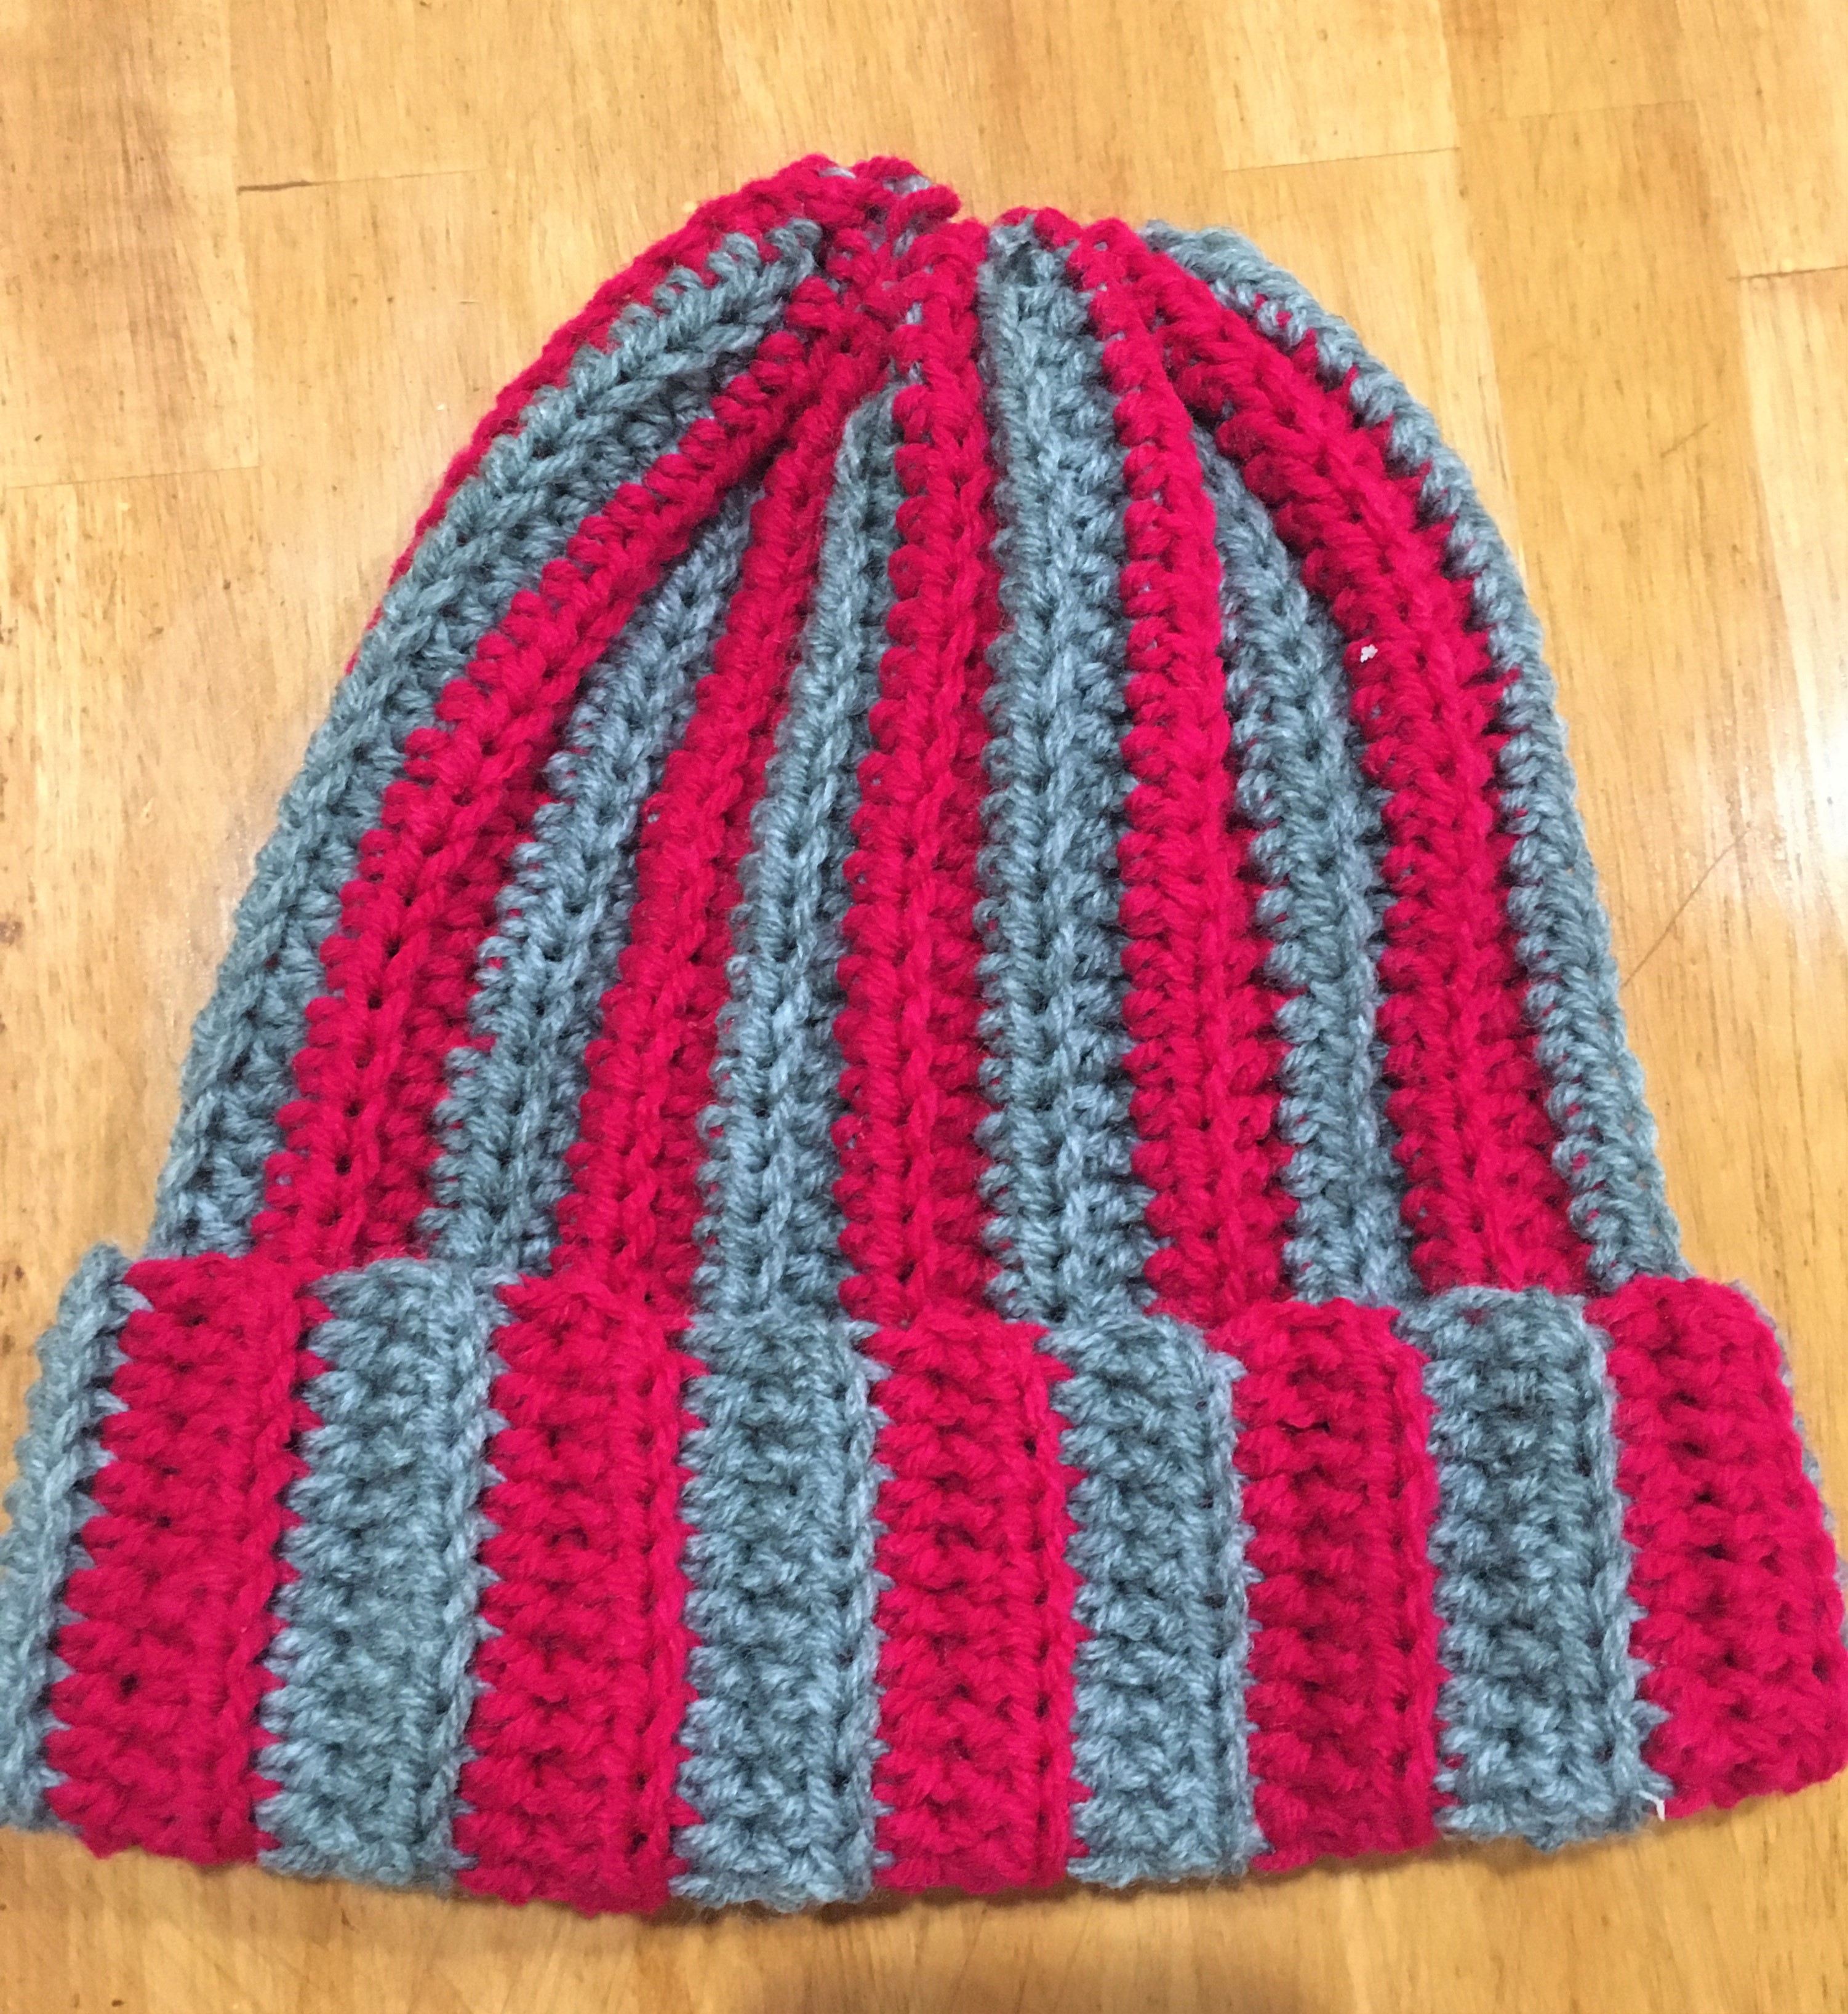
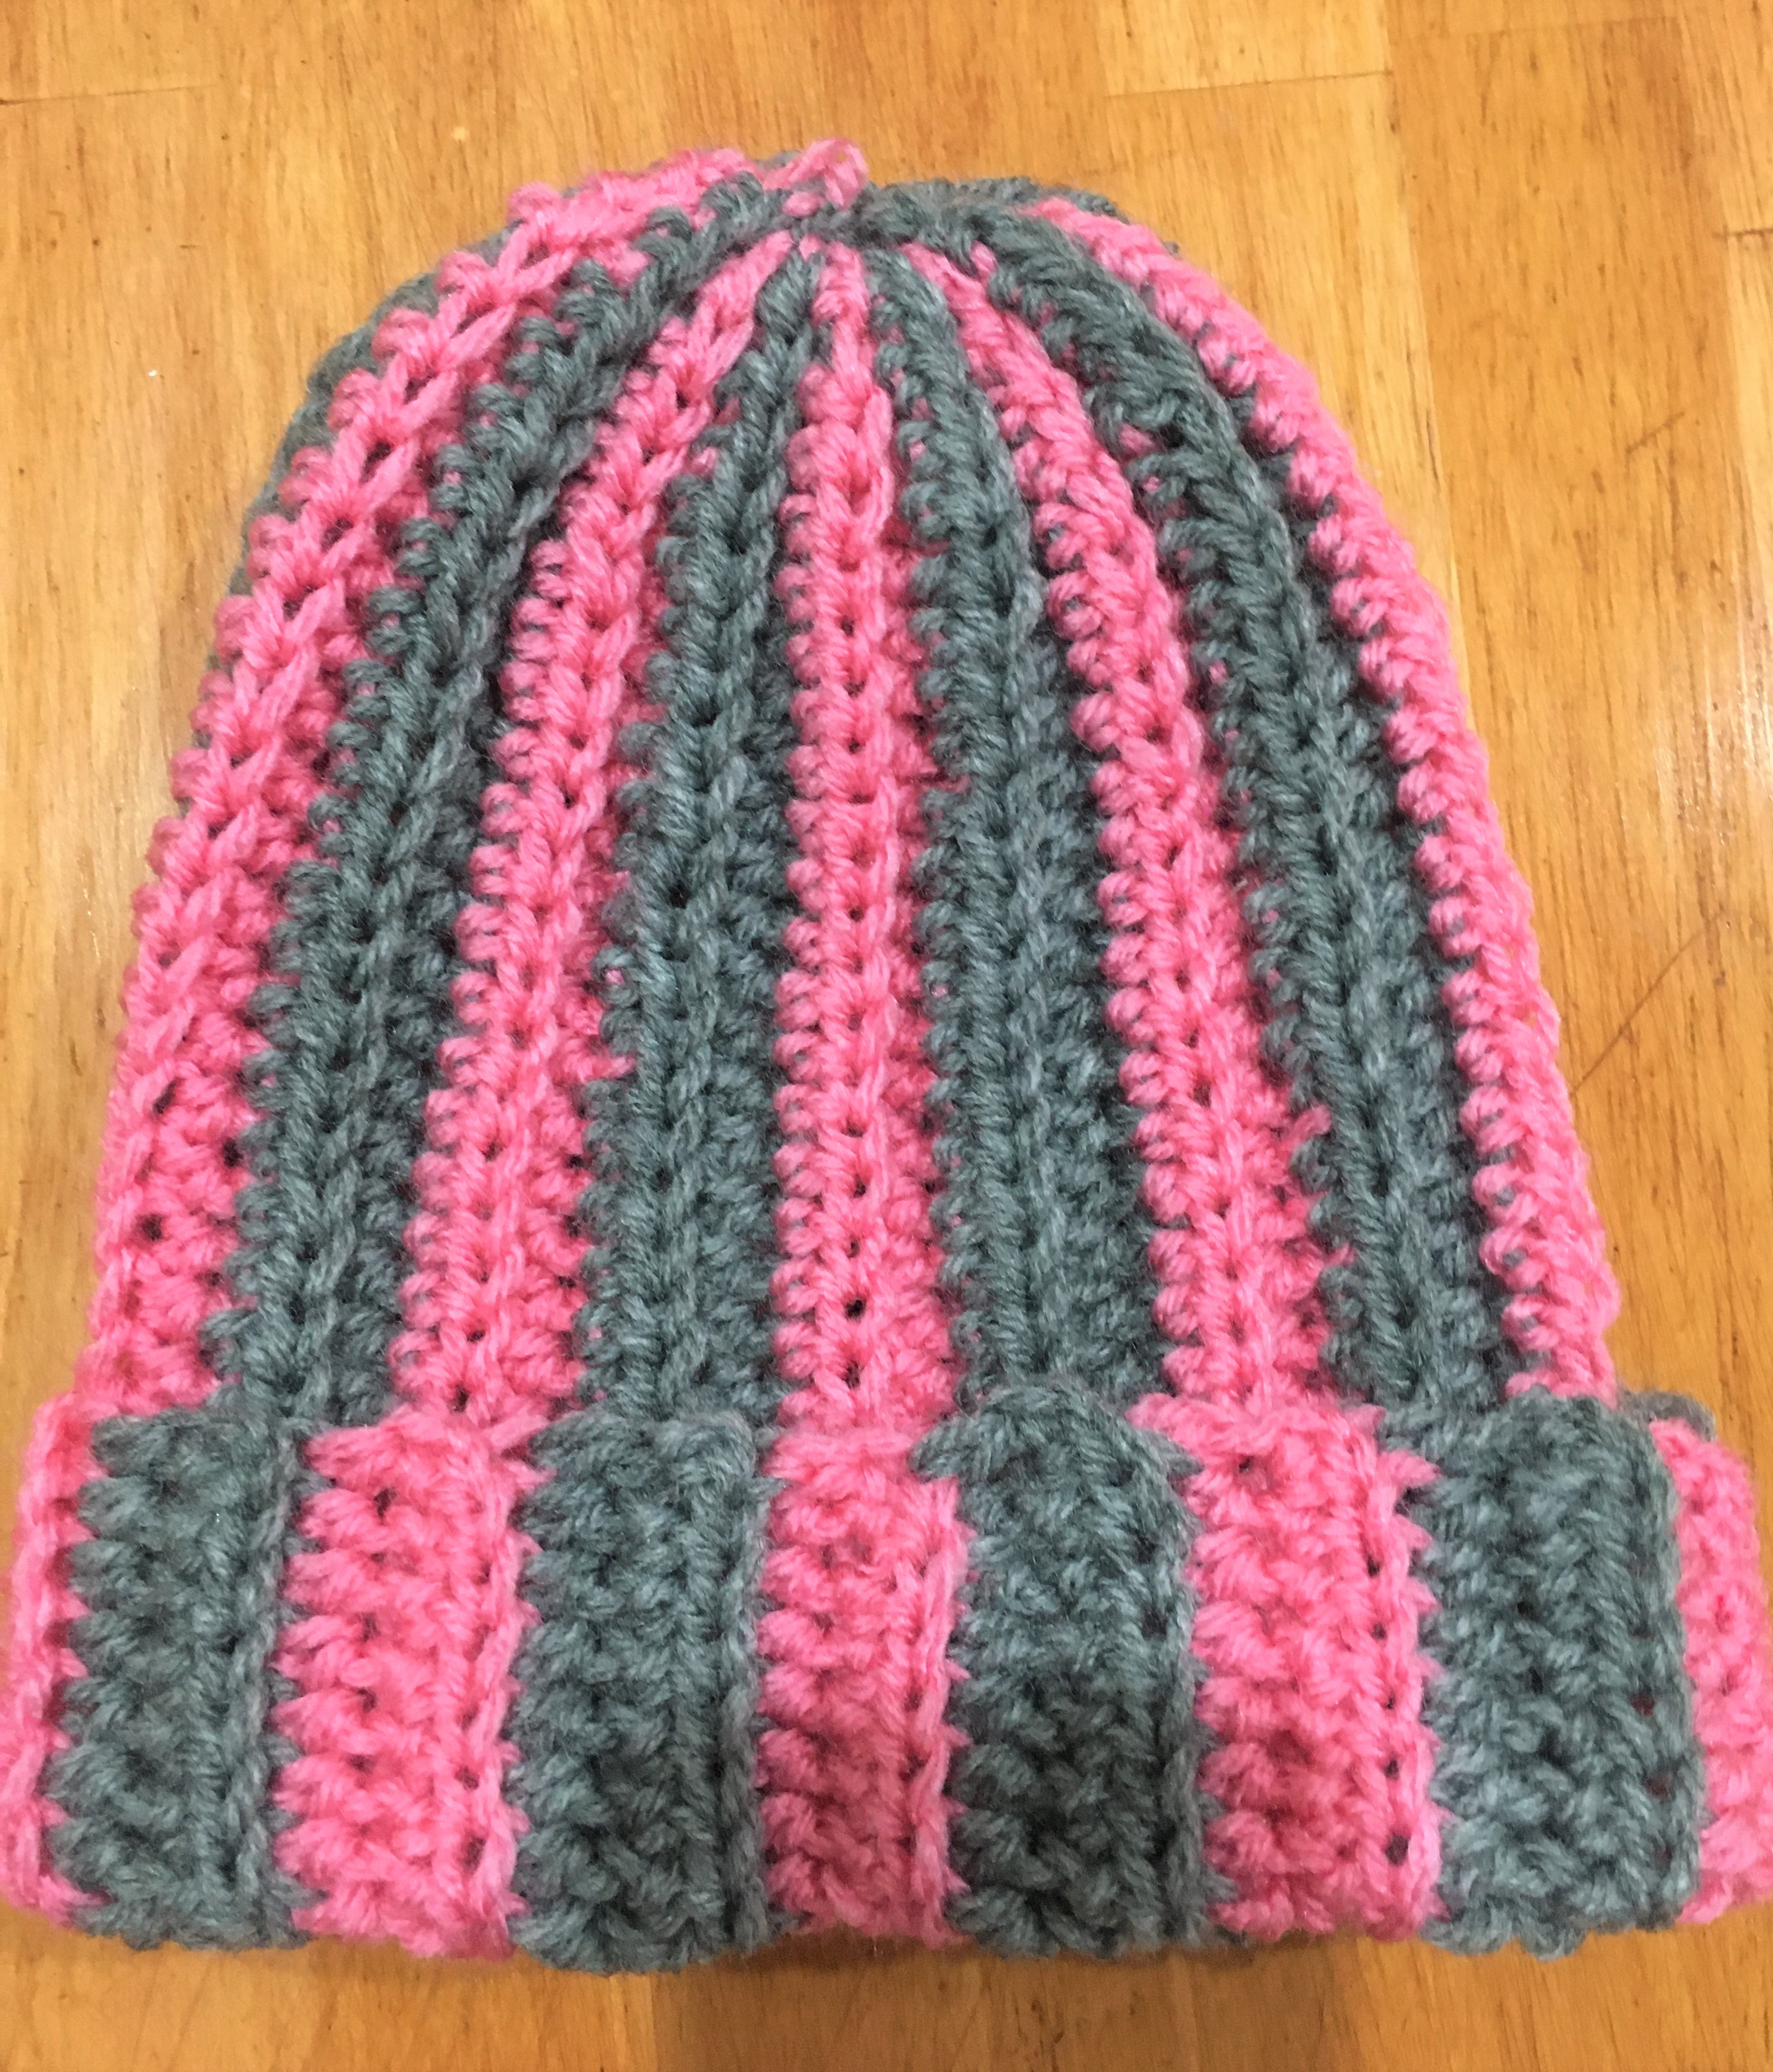
This pattern is for pink and white baby beanie, and I have provided some sample pictures using different color combinations, if you want to use different colors to this beanie.
Just increase the number of chains to increase the height and increase the number of rows to increase the circumference.
Finished Size: 11’ inches circumference x 6’ inches heights
Material:
Yarn: Caron Simply Soft
Color: White and Soft Pink
Hook: G/6, 4.25mm
Scissor
Level: Easy (assuming you are familiar with basic crochet stitches)
Basic Stitches and Abbreviations (US Terms):
sl st – slip stitch
ch – chain
dc – double crochet
sc – single crochet
dcbl – double crochet in back loop only
Pattern Notes:
Number chains will be the height of the beanie. Measure your size from forehead to center of your head. You can increase the number of chains to get a slouchy look and also fold the beanie as needed.
Number rows will be the circumference of the beanie. So you can measure the circumference of the head
You can refer the size chart from acraftyconcept
Special stitch: double crochet in back loop only.
Colorful beanie with simple stitches makes this an easy project for beginners and also gives something challenging to change color and learn the next steps in crochet.
Pattern:
Chain 28
Row 1: 1 dc in the 4th ch from the hook. Make dc in each chain till end (total 35 dc), turn
Row 2: ch3, dc in the back loop of the previous row till end. Change color while ending the last dc.
Row 3 -24 : ch 3 and rRepeat row 2.
I made a total of 24 rows to get the circumference of 11’ inches.
Do not cut the yarn. You can use the same yarn to join the two sides of the rectangle with sl stitch. Fold the rectangle and sew the open sides with sl st.
Gather the top using a running stitch at the edge of the rectangle. Pull one end of the yarn to bring the edge together. Tie the yarn tightly and weave the end.
Finish the beanie by sewing a big pom pom at the top to give it a gorgeous look.
Pom Pom:
You can make a white or red pom pom using the same yarn you used for the beanie.
There are various ways of making pom pom, but I like to use the pompom maker I got from Michaels. It’s easy to use and you don’t waste any yarn while cutting the edges to make it even.
You can also use a faux fur pom pom if you like.
Fasten off and weave in all ends. Hope you enjoy making this cute ribbed colorful beanie.